

Uncategorized
4-Player Arcade Cabinet Build: Everything You Need Before You Start
Sep
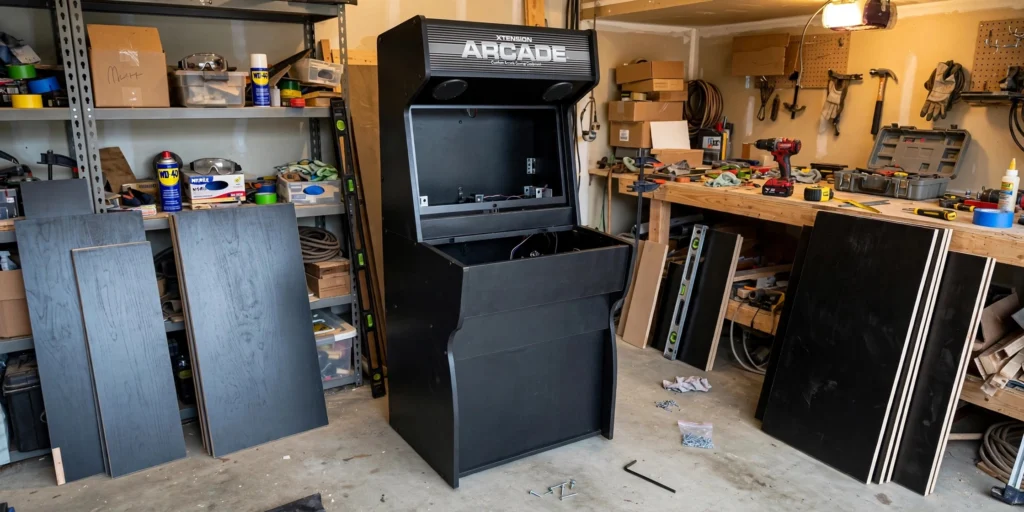
So you want to build a 4-player arcade cabinet. That’s an awesome project, but here’s something most beginner guides won’t tell you upfront: a 4-player build is not just a bigger version of a standard 2-player machine. It’s a genuinely different category of DIY arcade game cabinet, and jumping in without the right preparation is one of the fastest ways to waste money, time, and a whole lot of MDF.
Before you buy a single button or cut a single panel, there are real decisions to make around space, wiring, control panel layout, and component costs that simply don’t exist at the same scale in a 2-player build. We’re talking 31 pushbuttons, 4 joysticks, roughly 50 feet of wire, and a control panel stretching close to 4 feet wide.
This guide walks you through every pre-build consideration, from how much floor space your cabinet actually needs to what your computer setup should look like, to whether a kit or scratch build makes more sense for your situation. By the end, you’ll know exactly what you’re committing to before you spend a single dollar.
Why a 4-Player Cabinet Is a Different Build Category Entirely
Most people assume a 4-player arcade cabinet is just a wider version of the standard build. It isn’t, and that assumption is exactly where projects stall.
A 2-player cabinet is symmetrical by design: controls mirror left-to-right, and wiring runs in matching pairs. A 4-player layout arranges four distinct player zones around a shared panel, which breaks that symmetry entirely. Spacing, wiring runs, and access points all have to be planned from scratch rather than doubled up.
That complexity is real, and the DIY community knows it. Full-height 4-player builds consistently appear in maker forums as builders’ first serious woodworking project, with active threads logging 91-plus posts and over 7,200 views between 2022 and 2025. The enthusiasm is genuine. So is the scope.
Here’s what catches people off guard: nearly every arcade cabinet plan available online, whether sold or shared for free, is designed for a 2-player configuration. A 4-player build doesn’t adopt those plans; it modifies them, which requires understanding what you’re changing and why.
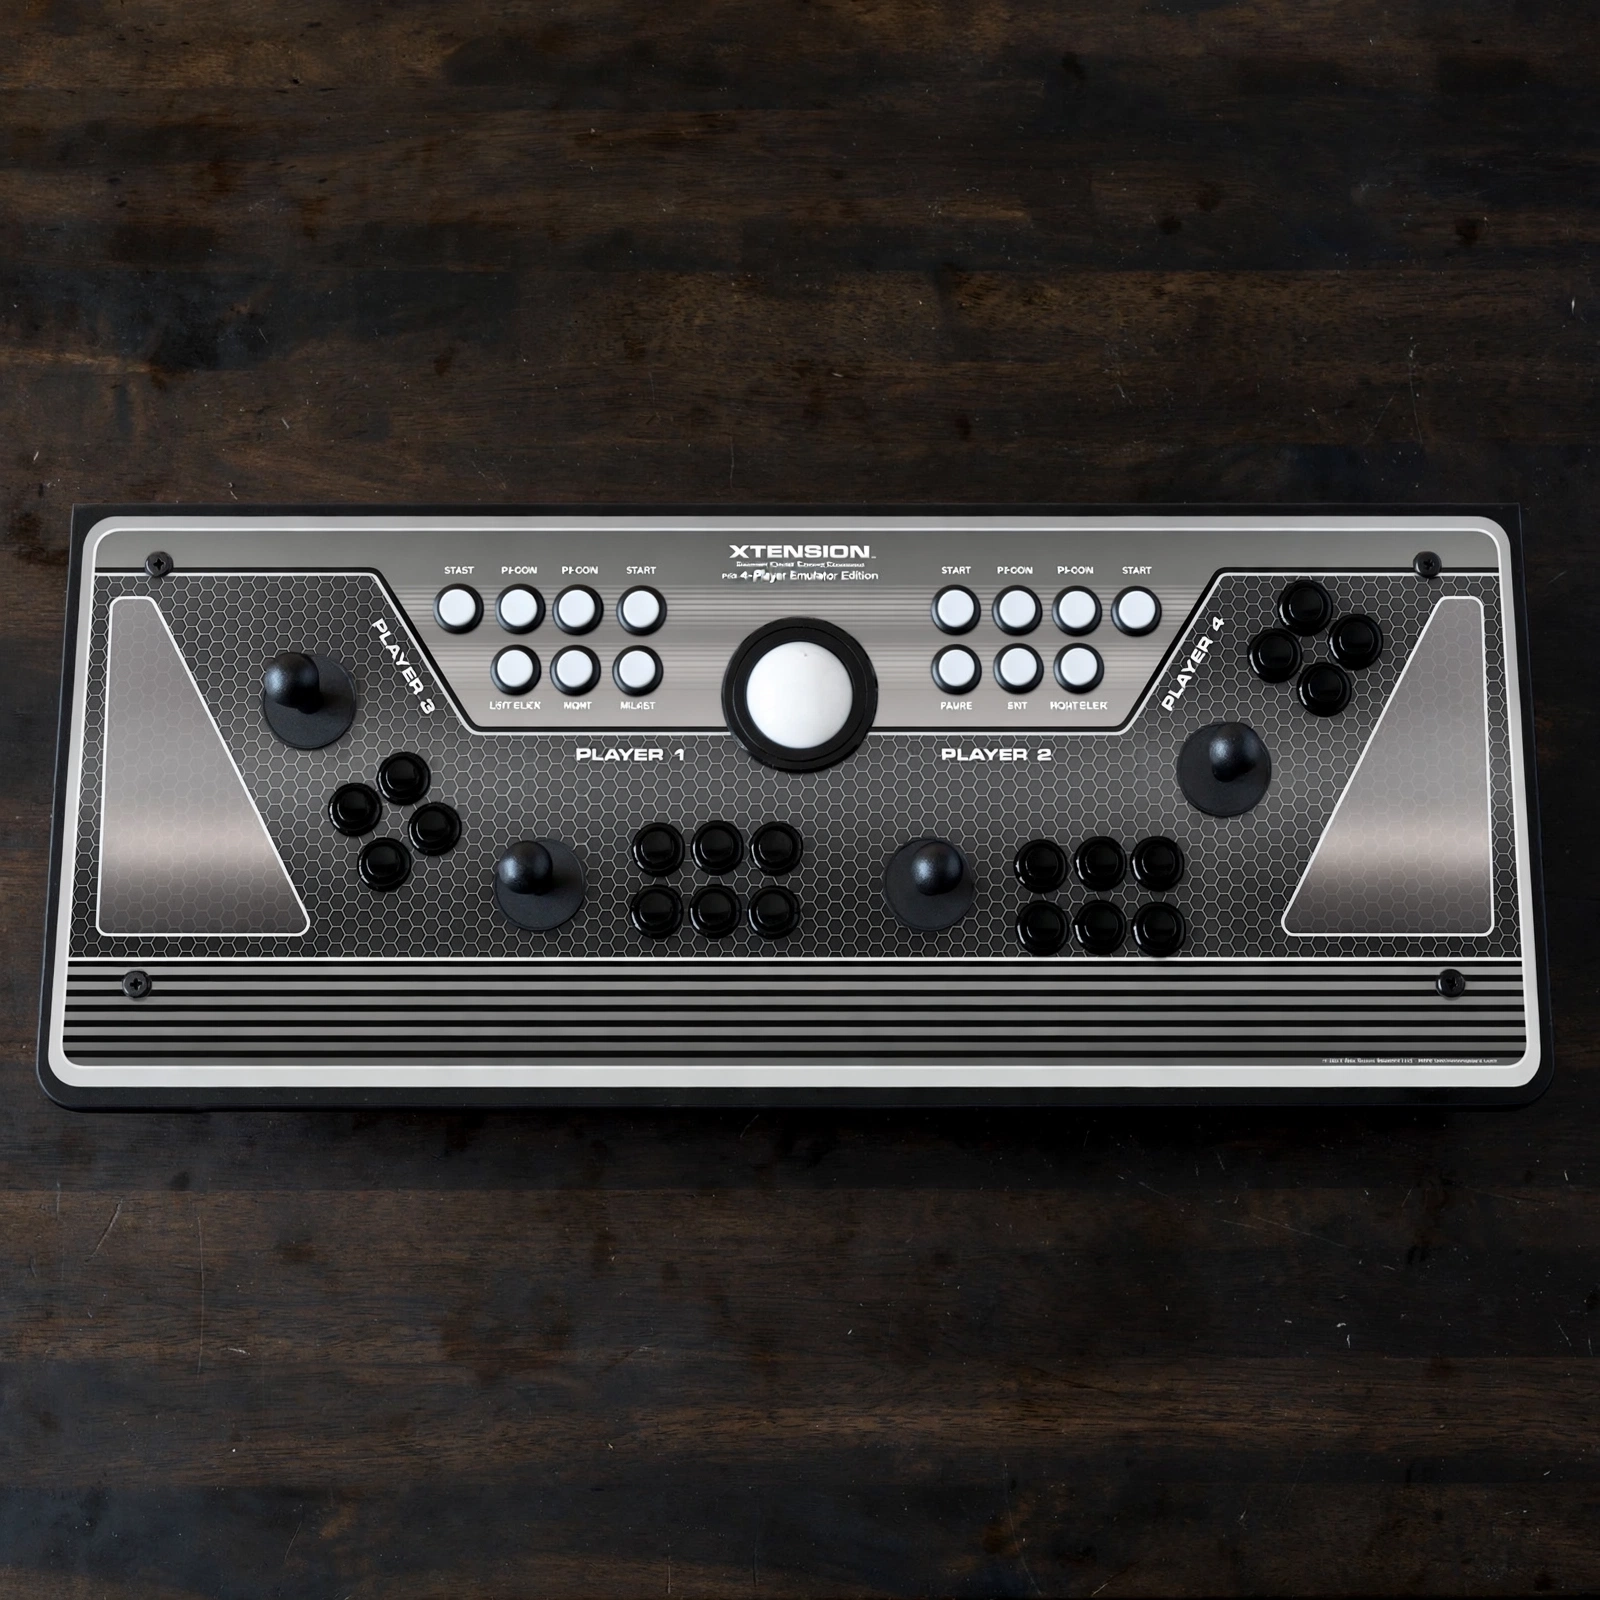
The cascade effect is the part worth pausing on. Adding two more players means a control panel that grows to roughly 18 by 46 inches, approximately 50 feet of wiring for the harness alone, 31 buttons and 4 joysticks to mount and connect, and structural material requirements that make the finished cabinet significantly heavier than anything in the standard 2-player range. Each of those changes affects the others.
If you want a detailed look at what a fully spec’d 4-player layout involves before committing to anything, the 4 Player DIY Arcade Cabinet features page is a useful reference point.
Understanding this upfront isn’t intimidating; it’s protective. Builders who stall mid-project almost always underestimated scope in one of these areas. The rest of this guide fixes that.
How Much Space Does a 4-Player Cabinet Actually Need?
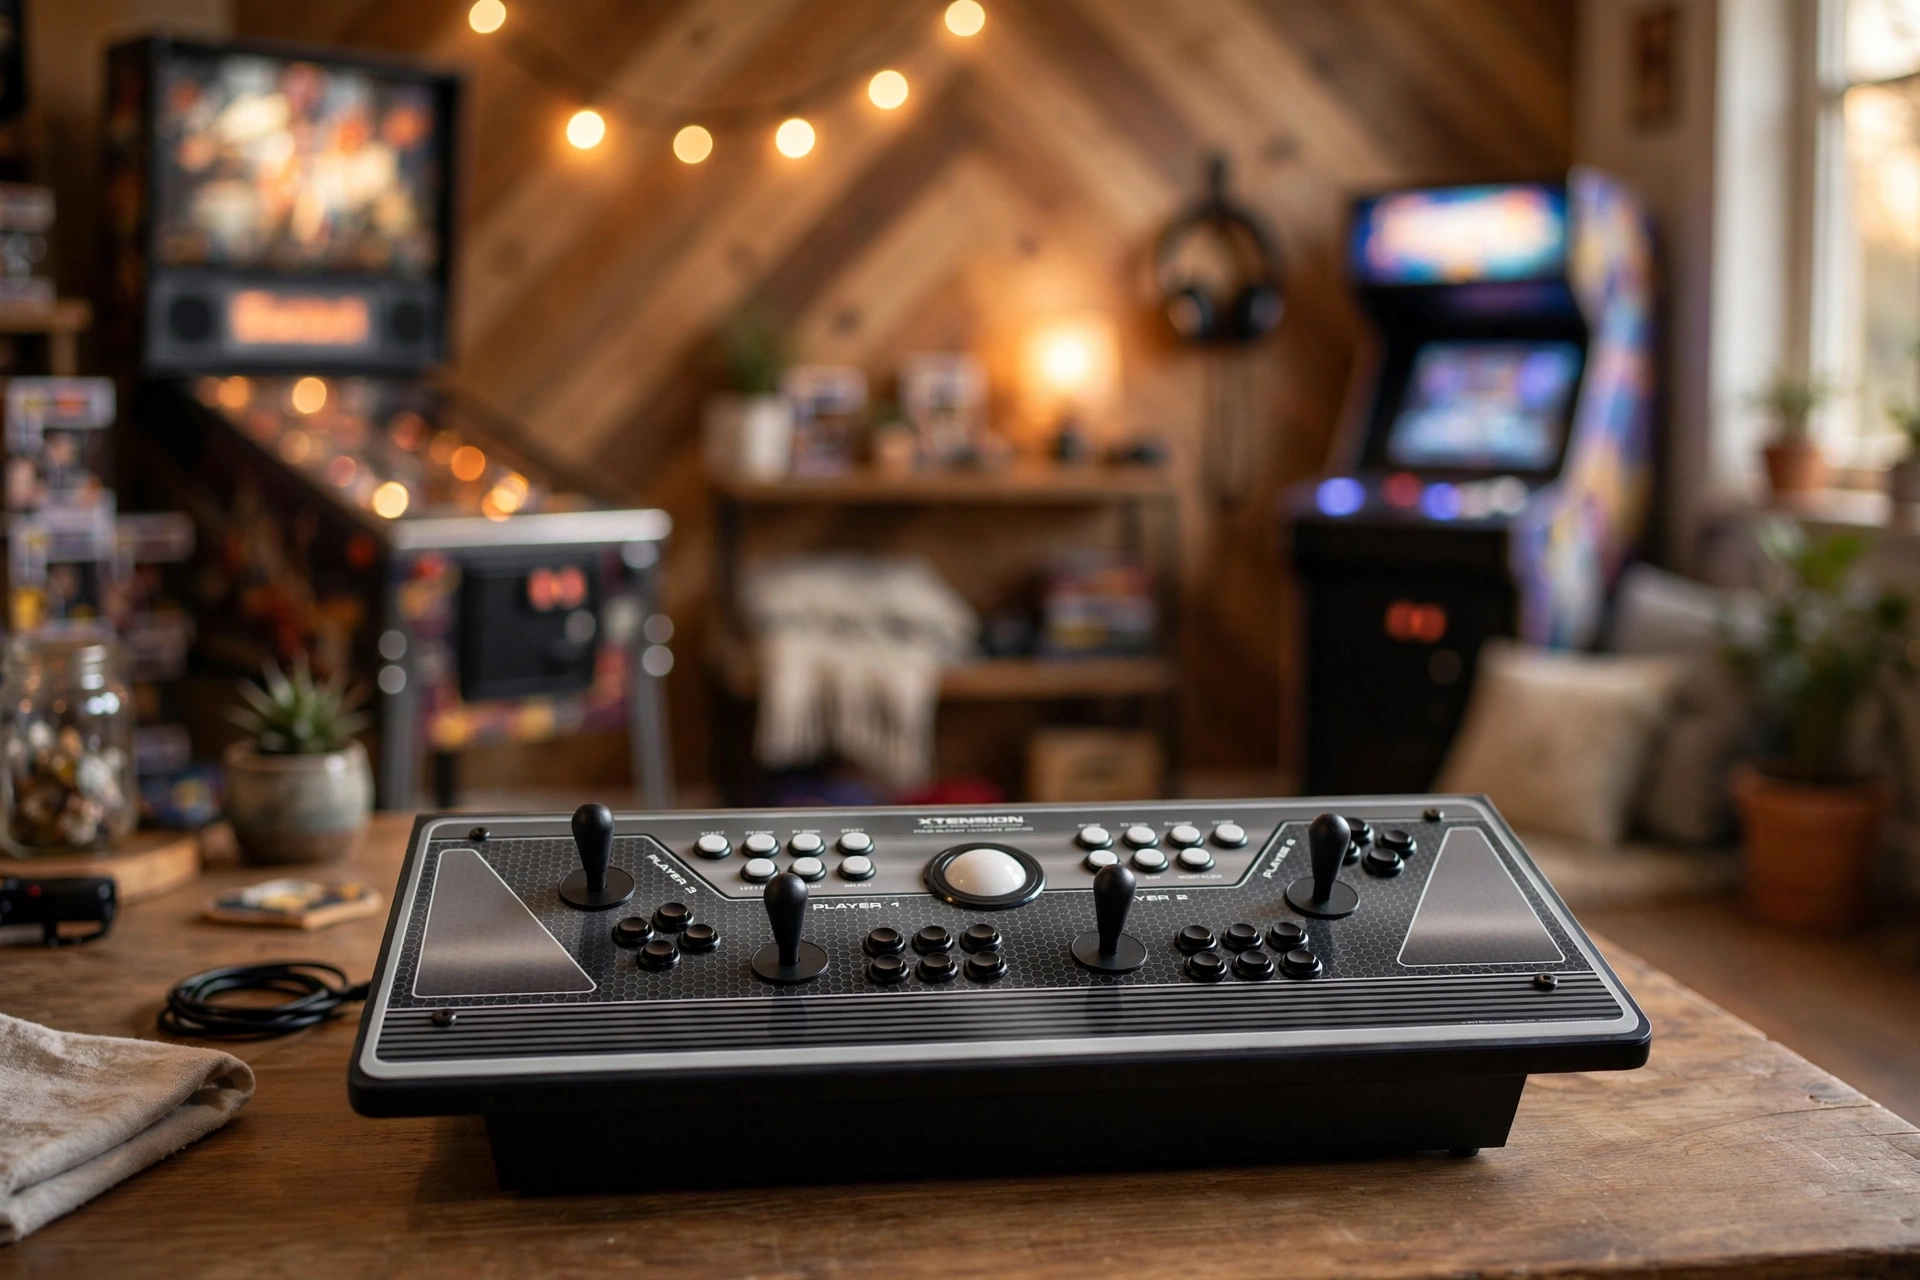
The control panel alone tells the story: a 4-player pedestal cabinet runs approximately 18 inches deep by 46 inches wide. A typical 2-player panel clocks in closer to 26-28 inches wide. That extra real estate is just the cabinet’s footprint on the floor, and it’s the smallest part of the space problem.
Add players. Each person needs roughly 24 inches of lateral elbow room to play without bumping into their neighbor mid-game. Multiply that by four and the usable play zone stretches to about 8 feet wide around the cabinet. Your 46-inch panel is sitting in the center of a much larger invisible rectangle, and every inch of that rectangle needs to be clear.
Pedestal builds compound this further. Unlike an upright cabinet where all players face the screen from one direction, a pedestal is open on all sides, players approach from multiple angles. That means dead-center room placement often works better than pushing the cabinet against a wall. Plan your room accordingly.
If you’re building a full-height upright instead of a pedestal, check your ceiling. Standard 4-player uprights push toward 6 feet tall, which sounds fine until you’re in a basement with a drop-tile ceiling at 7 feet and a duct running directly over your intended cabinet spot. Measure from floor to the lowest obstruction, not just floor to ceiling.
Here’s the step most builders skip and almost all of them regret skipping: grab a roll of painter’s tape and mark the full player-clearance footprint on your floor before you commit. Not just the cabinet outline, the whole 8-foot-wide play zone. Then live with it for a day. Walk around it. See if it blocks a door, eats the couch, or creates a traffic problem. It takes ten minutes and saves a very expensive lesson.
If you want a clearer picture of how cabinet dimensions translate into real-room planning, this breakdown of what you actually build and receive with a DIY arcade cabinet kit shows the physical scale in practical terms.
Control Panel Layout: Getting Player Zones and Button Spacing Right
Once you’ve got your room footprint sorted, the next challenge moves onto the panel itself, and this is where a lot of first-time builders get humbled.
A standard 4-player control panel packs 31 arcade pushbuttons, 4 joysticks, and a 3-inch trackball with USB interface onto an 18″ x 46″ surface. That’s not a lot of real estate for that many components, and how you arrange them determines whether your cabinet is genuinely fun to play or a constant source of elbow-in-the-ribs frustration.
Player zone spacing is your first constraint. Use a minimum of 11 inches center-to-center between joystick positions within each player zone. That’s the practical floor, not the comfortable ideal. Go tighter and you’ll have players fighting for space on any game that gets competitive. The goal is four clearly defined zones where each player can operate without encroaching on their neighbor.
Trackball placement deserves its own planning session. A center-mounted trackball is accessible to all four players, which sounds ideal until you realize it eats into the most valuable real estate on an already-crowded panel. If your game library leans heavily on trackball titles, center placement makes sense. If you’re primarily using it for a handful of games, an offset position toward one end frees up room and may actually serve your players better.
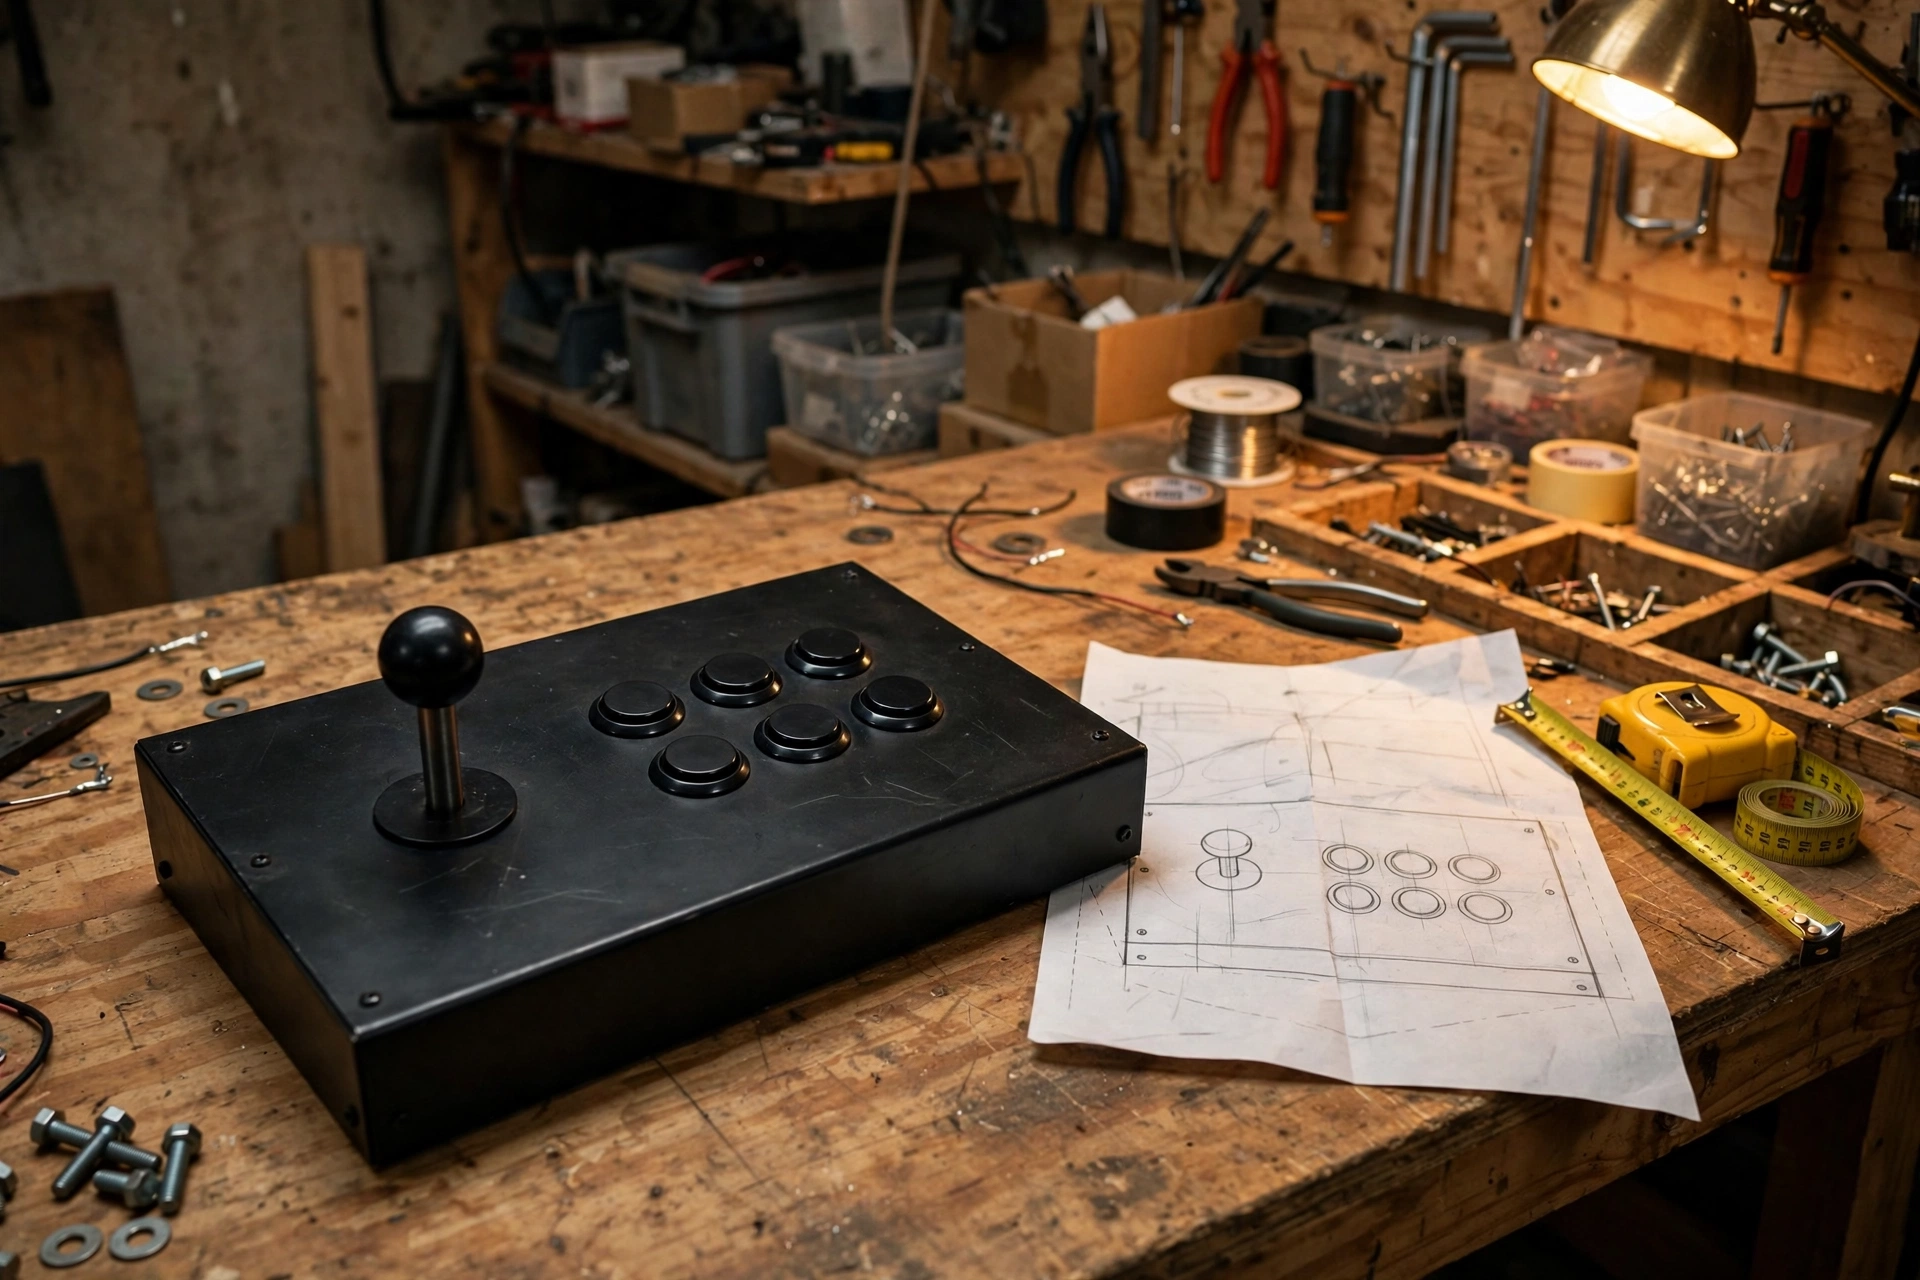
For button layout, use a template. Each player zone typically runs 6 buttons arranged in a curved arc, and that curve follows arcade ergonomic standards developed over decades of commercial cabinet design. Spacing buttons by eye produces layouts that feel slightly off in ways that are hard to name but impossible to ignore. Templates for common layouts are widely available in DIY arcade communities; there is no reason to guess when the guesswork has already been done.
Order your control panel artwork early. The plexi overlay for an 18″ x 46″ panel requires custom printing, and print lead times regularly run longer than any other item in a DIY arcade machine cabinet build. It’s the piece builders most often forget to budget for, then scramble to source at the end.
Finally, before anything gets drilled: have the left-handed and accessibility conversation with your regular players now. Modifying a drilled control panel is genuinely painful. Understanding what the hardware decisions involve before you commit is exactly the kind of prep covered in a solid overview of arcade cabinet parts and how they work together.
The Wiring Reality: What 4 Players Worth of Inputs Actually Looks Like
Once your control panel layout is locked, reality introduces itself in the form of wire. A lot of wire.
A standard 4-player control panel wiring harness requires approximately 50 feet of 18-gauge wire. That is not a rough estimate padded for comfort. A spare spool from a previous project almost certainly won’t cover it, so plan a dedicated purchase into your materials list.
The reason that number climbs so fast comes down to simple connection math. Each joystick uses four microswitches, one per direction. Four joysticks alone account for 16 directional signals before a single button is counted. Add 31 buttons plus a trackball interface, and you are managing more than 50 individual connections, every one of which needs to terminate cleanly at your encoder board. A loose or mislabeled terminal at connection 47 is exactly as painful as it sounds to diagnose.
Sketch your full wiring harness diagram before touching a single wire. Builders who skip this step do not save time; they trade planning hours for troubleshooting hours, and troubleshooting is the less fun version of that trade. Map every signal, label every run, and know exactly where each wire lands before you pick up a crimper.
For the encoder itself, a USB encoder board built for 4-player setups is the practical choice over custom PCB wiring. These boards handle player-channel mapping in a way that integrates cleanly with MAME configuration. Understanding how your specific encoder assigns player channels before the cabinet goes together saves a genuinely painful software configuration session after it does. If you want to see what a clean, pre-configured 4-player control setup looks like before committing to a full build, the Xtension 4 Player Arcade Controller is worth studying as a reference point.
Wire routing is a structural decision, not a finishing detail. Fifty feet of wire needs organized pathways planned alongside your MDF cuts. If you wait until panels are assembled to figure out where the runs go, you are retrofitting a wiring system into a cabinet that was never designed to hold it.
Finally, two tools earn their cost back immediately at this scale: ratcheting wire crimpers and a labeling system for every wire run. Basic crimpers struggle with the volume of terminals a 4-player harness demands. Unlabeled wires become a troubleshooting puzzle you will deeply regret assembling.
Your Bill of Materials: What a 4-Player Cabinet Build Actually Costs to Source
Once you’ve wrapped your head around the wiring, the next reality check is your parts list and what it’s actually going to take to source everything.
Structural materials first. A pedestal-style 4-player build needs 6 pre-cut 2ft x 4ft sheets of MDF or plywood for the shell. If you’re going full-height instead, that scales to 3-4 sheets of 18mm MDF, which is substantially heavier and will make both delivery and maneuvering the finished cabinet into its room a two-person job minimum.
Don’t shortchange your trim order. T-molding runs roughly 30 feet for a pedestal build, and you’ll need a 30-inch piano hinge for the control panel access lid. These feel like minor line items until you’re 10 feet short and waiting on a reorder. Add 10-15% overage to every edge and trim estimate, no exceptions.
The control hardware gap is bigger than most people expect. A 2-player DIY arcade cabinet typically uses 12-16 buttons and 2 joysticks. A 4-player setup needs 31 buttons and 4 joysticks plus a trackball and encoder boards. That’s more than double the control hardware, and each additional component is another potential sourcing variable.
Piecemeal sourcing is where builds quietly go sideways. Ordering buttons from one supplier, joysticks from another, and encoders from a third introduces version mismatches and staggered shipping windows. A DIY arcade cabinet kit that bundles the full 4-player control hardware set keeps compatibility confirmed and your timeline intact.
Map every budget category before you buy anything:
- Structural materials (MDF or plywood)
- Control hardware (buttons, joysticks, trackball, encoders)
- Display (a 42-inch LCD is the practical floor for 4-player builds)
- Computing hardware
- Wiring and terminals
- Trim and finish materials
- Artwork
Skipping even one of these categories during planning usually means an unbudgeted reorder mid-build.
Rec Room Masters offers pre-configured component sets and cabinet kits built around verified 4-player layouts, which is a much cleaner starting point than assembling a parts list from scratch and hoping everything plays nicely together.
Tools You Need, Tools You Can Borrow, and Tools Worth Buying
Now that your materials list is squared away, tools are the next thing to sort before a single sheet of MDF gets touched.
Router: Rent It A router cuts the slot along your cabinet edges that T-molding snaps into. There is no workaround for this. You cannot chisel it cleanly, and a table saw won’t do the job with the same control. If you don’t own one, rent from your local hardware store. For a one-time build, a weekend rental is the smart call.
3-Inch Hole Saw: Buy It Standard drill bit sets top out well below the 3-inch diameter you need for a trackball cutout. This is a specialty size, but it’s inexpensive enough that hunting for a rental isn’t worth the effort. Pick one up, use it, keep it.
Ratcheting Wire Crimpers: Buy These Too A 4-player harness means 50-plus individual connections between joysticks, buttons, the trackball, and your encoder board. Standard crimpers work, but they are slow and inconsistent at volume. Ratcheting crimpers apply even, repeatable pressure on every terminal. At this scale of wiring, that consistency saves hours. This one belongs in your toolbox permanently.
Jigsaw: Strong Rental Candidate Most of the curved cuts in cabinet construction fall to a jigsaw. If you already own one, great. If not, rent before you buy, unless you’re planning more than one cabinet build. Curved cuts aren’t constant throughout the project, so it doesn’t need to live in your garage forever.
Brad Nailer, Wood Glue, and Pocket Screws: All Three A brad nailer and wood glue handle the bulk of structural assembly. On a 4-player build, the control panel is heavier than a standard 2-player panel, so add pocket screws at the high-stress joints. That combination holds.
Measurement Tools: Upgrade Here A digital angle finder and a straightedge of at least 48 inches are worth having on this build specifically. A 46-inch-wide control panel means small alignment errors compound quickly across the surface. Eyeballing it costs you later. These are inexpensive tools that pay back their cost in avoided rework.
Computing and Display: What Your Cabinet Needs to Run Games Well
With your tools sorted, the next thing your cabinet needs is a brain and a screen worth gathering around.
Hardware specs first. MAME runs on a Windows PC with a 3GHz processor and 4GB RAM at minimum, and yes, most spare machines in a closet will technically clear that bar. “Technically” is doing a lot of work in that sentence. Minimum spec means the emulator launches, not that it runs smoothly under load with four players hammering buttons. If you have a slightly beefier option available, use it.
Display size is non-negotiable at 4 players. A 42-inch LCD is the practical floor for a pedestal build, and the reasoning is simple geometry. The two players on the outer edges are standing at an angle to the screen. Drop below 42 inches and their viewing angles get uncomfortable fast, especially on games with small sprites. The 32″ Upright Xtension 4 Player Arcade Machine handles this differently as an upright format, but for a pedestal build, 42 inches is your starting point, not your upgrade target.
HDMI from PC to monitor is straightforward. The part that catches builders off guard is USB encoder mapping. Each player’s inputs need to be correctly assigned in MAME’s configuration, and four players means four channels of inputs to sort out. Do this before the cabinet is closed up. Tracing a mapping error inside a sealed cabinet is a special kind of miserable.
Front-end software changes the experience entirely. Running raw MAME feels like operating a file browser. Attract Mode or LaunchBox replaces that with a proper game-selection screen that actually feels like an arcade. It’s not optional if you want the cabinet to feel finished.
Plan your PC mounting location before you build around it. It needs airflow, cable access for the HDMI and USB runs, and a position you can reach without disassembling half the cabinet when you eventually want to swap hardware.
Kit Build vs. Scratch Build: Which Makes Sense for a 4-Player Project?
With your hardware and software decisions locked in, there’s one more fork in the road before any sawdust flies: are you sourcing every component yourself and cutting your own panels, or starting from a kit?
Scratch builds offer real flexibility. You control every dimension, material choice, and component selection. The trade-off is that you’re generating your own cut list from scratch, verifying every measurement against every other measurement, and resolving compatibility issues without a reference build to check against. On a 2-player cabinet, that’s manageable. On a 4-player build, where a fraction of an inch of error on the control panel width throws off player zone spacing across all four positions, the margin for a self-generated cut list to go sideways is meaningfully higher.
A DIY arcade cabinet kit that includes pre-cut panels removes the most error-prone phase of the entire project. Panel cutting is where most first-time build mistakes happen, and on a 4-player layout, dimensional accuracy on an 18-inch by 46-inch control panel isn’t just a quality detail; it directly determines whether four players can actually stand at that cabinet comfortably.
For first-time builders, a kit also solves the “blank page problem.” You don’t know what you don’t know yet, and a verified layout gives you a known-good starting point rather than a pile of assumptions. Experienced builders aren’t exempt from this logic either; a build that’s already more complex than a standard 2-player project benefits from trimming scope wherever possible.
Rec Room Masters’ cabinet kits are designed and built in the U.S. with pre-cut MDF and verified component compatibility, which means the dimensional decisions have already been tested.
The real cost of going scratch isn’t just materials. It’s the time and tooling required to produce panels that match the same standard as pre-cut components, and on a 4-player arcade cabinet kit, that gap is larger than it sounds on paper.
The Pre-Build Checklist: 10 Questions to Answer Before You Order Anything
Before you place a single order, run through every item on this list. If you can’t answer a question with a specific, concrete answer, that’s exactly where your build will stall.
1. Have you taped out the full player-clearance footprint? Not just the cabinet dimensions. Four players need elbow room. Tape the entire active zone on your floor and confirm the space actually works before you commit.
2. Have you chosen pedestal or full-height, and do you have format-specific plans? These are different builds with different material requirements. A full-height cabinet uses 3-4 sheets of 18mm MDF; a pedestal uses six 2ft x 4ft sheets. Generic plans retrofitted from one format to the other cause structural problems downstream.
3. Have you mapped all seven budget categories? Structure, controls, display, computing, wiring, trim, and artwork. Builders who skip “trim” routinely forget 30 feet of T-molding. Builders who skip “artwork” get surprised by custom print lead times.
4. Do you have the required tools, or know where to get them? Router, 3-inch hole saw, jigsaw, and ratcheting crimpers are the non-negotiables. The router and jigsaw are solid rental candidates. The crimpers are worth buying outright given the number of connections involved.
5. Have you sketched your wiring harness diagram? A 4-player cabinet runs 4 joysticks, 31 buttons, and a trackball. That’s 50-plus individual connections and roughly 50 feet of 18-gauge wire. Draw the full harness map before purchasing anything. Wiring improvised without a diagram produces hours of post-build troubleshooting.
6. Does your PC hardware clear the minimum threshold? You need at least a 3GHz processor and 4GB RAM to run MAME reliably. More importantly, confirm you have enough USB ports to handle a 4-player encoder setup, since each player’s controller needs its own channel assignment.
7. Have you started your control panel artwork? Custom printing at 18″ x 46″ takes time. Some print services run 1-2 weeks on large-format jobs. If artwork isn’t ordered until after the panel is drilled, you’re staring at bare MDF while you wait.
8. Is your trackball position documented in the panel layout? Trackball placement is a permanent decision. Center-mount serves all players; offset placement favors specific game types. Decide before drilling, not after the hole is cut in the wrong spot.
9. Do you have a plan for moving the finished cabinet? A completed 4-player cabinet is heavy and wide. Measure your doorways, stairwells, and any tight corners on the path to its final room. A cabinet that can’t make it through the door is a very expensive problem to solve after the fact.
10. Have you reviewed a completed 4-player build log? Time estimates from people who haven’t done this build are unreliable. Find a documented build log from someone who has finished a 4-player cabinet specifically, and use their timeline to calibrate yours. The active builder community has logged these projects in detail, and that firsthand experience is worth more than any estimate you can generate from a parts list alone.
If you hit every question with a solid “yes,” you’re genuinely ready to start ordering. If any answer is still “kind of” or “I think so,” that’s the one that will cost you later.
Now You Know What You’re Getting Into, Here’s How to Move Forward
If you answered every checklist question with a real answer, not a placeholder, you’re genuinely ready to build. That’s not a small thing.
This project is absolutely achievable for a first-time builder. Thousands of people have done it. The ones who stalled or walked away almost never hit a technical wall they couldn’t clear. They underestimated scope in one of four places: space, wiring, components, or tools. Every section of this guide exists to close those gaps before they become mid-project surprises.
Treat the checklist as a hard gate. If any answer is still a rough estimate, that’s the item to resolve before anything gets ordered. One assumption left unchecked has a way of pulling three other things down with it.
Rec Room Masters’ 4-player arcade cabinet kits and component sets are built around verified layouts using U.S.-sourced materials. That means you’re starting from a confirmed, tested foundation rather than assembling one from scratch across five different suppliers. For a first build at this scale, that starting point matters more than it might seem.
The payoff for doing the planning right is straightforward: a cabinet that works on day one, holds up for years, and is genuinely enjoyable to build rather than a rotating sequence of costly fixes. Four players gathered around a machine you built yourself, playing games you grew up with, is a real thing that happens. It just requires the planning phase to be taken as seriously as the build phase.
You’ve done the hard thinking. Now go build something worth bragging about.
Conclusion
A 4-player arcade cabinet build is bigger than most people expect, but it is completely within reach when you plan before you purchase. The four areas that derail most builds are space, wiring, components, and tools. This guide has walked you through all of them.
The checklist is not optional. Every question on it exists because someone, somewhere, skipped it and paid for it mid-build. Resolve every answer before a single order goes through.
When the planning is solid, the build becomes the fun part. You know your layout, your budget, your tool situation, and your component sources. That clarity is the real advantage.
Now take the checklist, fill it out completely, and place your first order with confidence. Four players. One machine. Built by you. That is worth doing right.
