

RecRoomMasters
How Many Games Can One Xtension Cabinet Run? A Canadian Buyer’s Guide to Multi-Game Emulation
Sep
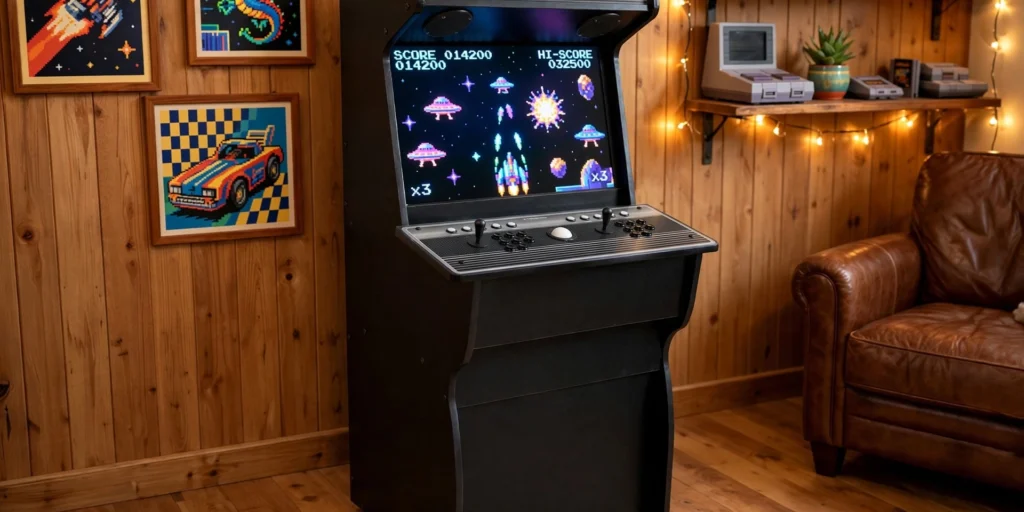
Picture this: a gorgeous full-size arcade cabinet sitting in your basement, lit up and ready to play. Now imagine loading it with not just one game, but hundreds. That is exactly what draws so many Canadian DIY builders to the idea of an arcade cabinet multiple games setup, and honestly, it is one of the most exciting home projects you can take on.
But here is something most beginner guides skip over. The cabinet itself is really just the starting point. The wood, the joysticks, the marquee lighting, all of that is the venue. The real magic happens on the software side, where the right emulator setup can turn a single machine into a personal arcade museum.
In this guide, we are going to walk through everything you need to think about before you build. You will learn what multi-game emulation actually means for a DIY project, which hardware specs truly matter, how to choose your software stack, and what Canadian buyers should realistically know about the legal landscape. By the end, you will have a clear picture of what your build can actually do, and how to plan it properly from day one.
The Cabinet Is the Venue. The Emulator Is the Show.
Buying an arcade cabinet without a software plan is like building a movie theatre and forgetting the projector. The cabinet is beautiful, the marquee lights up, the joystick feels perfect, and then you realize you have nowhere to actually run a game.
That’s where multi-game emulation comes in. In plain terms, it’s software that mimics the original hardware of classic arcade boards and home consoles, so a modern PC can run the game files (called ROMs) those systems were built to play. One computer inside your cabinet can impersonate a 1980s Capcom arcade board, a Super Nintendo, and a Neo Geo, sometimes all in the same evening.
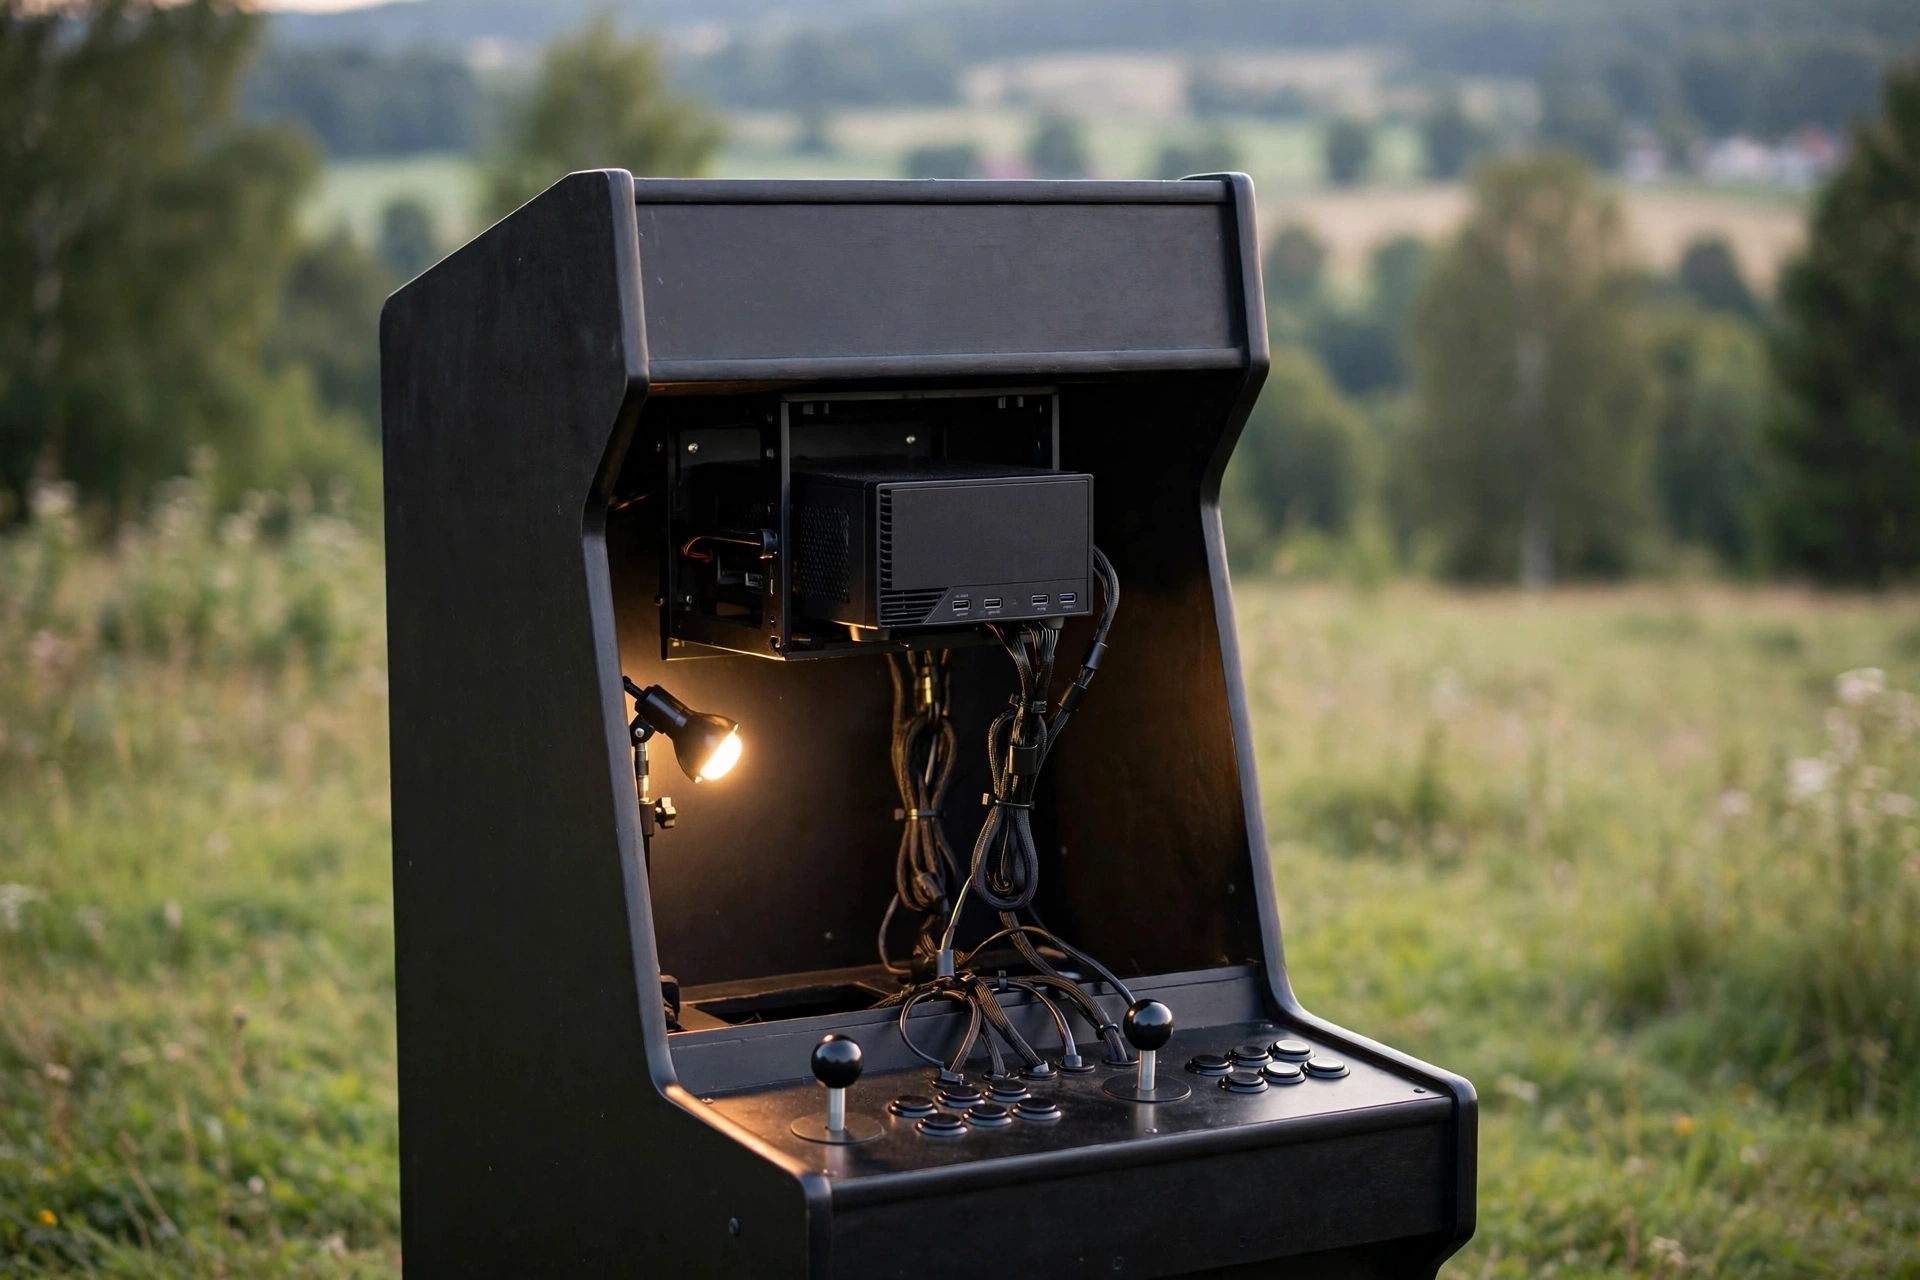
The Xtension cabinet’s design makes it a natural fit for this kind of build. It’s built around a standard flat-screen monitor rather than a proprietary arcade board, with an open PC bay that accepts regular computer hardware and a control panel laid out for encoder-based inputs. There’s no dedicated PCB to work around, just an open, well-designed shell waiting for you to drop in a computer and get building.
This guide follows a two-part framework: hardware specs set the ceiling on what your cabinet can emulate, and the software stack determines what actually lives below that ceiling.
One honest heads-up before we dig in: no industry benchmark converts a specific processor into a guaranteed game count. What does exist is a practical tier model, and that’s exactly what this guide gives you.
What Multi-Game Emulation Actually Means for a DIY Build
Think of an emulator as an impressionist: it studies how an original arcade board or console processed instructions, then reproduces that logic in software. The PC inside your cabinet doesn’t become a CPS-1 board or a Super Nintendo; it gets very good at pretending to be one, which is the whole magic trick behind a multi-game build.
Every game needs two things to run. The emulator is the engine, the software that knows how a given system behaved. The ROM is the game data itself, the digital equivalent of the cartridge or arcade board. Remove either one and nothing plays.
When people say a well-configured cabinet runs “hundreds of games,” that’s accurate. But the real ceiling shifts depending on what you’re asking the hardware to emulate.
Here’s a practical way to frame it:
- Entry tier (8/16-bit retro): NES, SNES, early arcade boards like CPS-1. Lightweight by any modern standard; a vast catalogue of classic titles falls into this bucket.
- Mid tier (32-bit and early 3D): PlayStation, Saturn, early 3D arcade titles. Noticeably more demanding; hardware starts to matter here.
- Enthusiast tier (sixth-generation consoles and late arcade boards): Dreamcast, Naomi boards, PlayStation 2. These need real processing muscle.
Choosing your tier before you spec your hardware is the move. The Xtension 2-Player Upright Arcade Cabinet and the Xtension Sit-Down Pedestal Cabinet both accommodate standard PC internals, so you build to the tier you actually want rather than working around fixed hardware.
The Hardware Specs That Actually Determine Your Game Library Size
So now that you know what those tiers mean in gameplay terms, let’s talk about the hardware that actually puts you in one category or another.
CPU: the one spec that matters most. Many classic emulators are optimised for single-core performance, so clock speed often matters more than core count. A processor with strong single-core clock speed will outperform a higher core-count chip in almost every retro emulation scenario. Prioritise clock speed over core count here.
RAM: lower bar than you’d expect. As a general rule of thumb, 4GB gets you through a retro-focused build without drama. 8GB is the comfortable middle ground for a mixed library. 16GB removes RAM as a concern entirely if you’re pushing into sixth-generation emulation.
Storage: this is your actual library ceiling. As a general rule of thumb, a 256GB SSD holds a serious retro collection. Step up to 512GB or 1TB and storage stops being a variable in the equation, giving you room to curate freely. (Before choosing components, the guide to arcade cabinet parts explained for Canadian builders is worth a read alongside this one.)
GPU: relevant later, not earlier. Pre-2000 systems barely touch the GPU. Once you reach PlayStation 2, Dreamcast, and GameCube territory, sixth-generation emulators typically leverage GPU acceleration, and a dedicated GPU starts earning its place.
Xtension’s open PC bay accepts standard compact PC form factors, so there are no proprietary slot constraints forcing compromise. Build to your tier, not around someone else’s limitations.
Here’s the practical reference, offered as general guidance rather than hard minimums:
| Tier | CPU | RAM | Storage |
|---|---|---|---|
| Entry | Intel N100 or equivalent | 4GB | 256GB SSD |
| Mid | Intel Core i5 / Ryzen 5 | 8GB | 512GB SSD |
| Enthusiast | Intel Core i7 / Ryzen 7 | 16GB | 1TB SSD |
Pick your tier, then pick your software stack to match.
Choosing Your Software Stack: RetroPie, MAME, LaunchBox, and Beyond
Once your hardware tier is sorted, the software stack is where your cabinet finds its personality.
The following breakdown reflects the consensus of the DIY emulation community rather than a single authoritative standard, these projects are hobbyist-led, not regulated.
RetroPie is the classic starting point for first-timers. It’s a Linux-based bundle that pairs an emulator engine with a clean front-end, and it runs beautifully on a Raspberry Pi or modest entry-level PC. Configuration is minimal out of the box, which makes it forgiving when you’re still figuring out what you’re doing.
MAME (Multiple Arcade Machine Emulator) is the undisputed gold standard if authentic arcade emulation is your priority. It covers thousands of original arcade board titles with remarkable accuracy. If your vision is a proper arcade cabinet running Street Fighter II and Galaga exactly as they appeared in the wild, MAME is the engine you want underneath it all.
LaunchBox and its full-screen BigBox front-end live at the enthusiast end of the spectrum. It runs on Windows, automatically scrapes box art and metadata, and manages libraries spanning multiple emulators from a single polished interface. It looks genuinely impressive on a cabinet display.
Batocera is worth serious attention for builders who want broad system coverage without a Windows licence. It’s Linux-based, supports dozens of emulated systems out of the box, and has earned a strong reputation in the DIY community for just working.
Here’s the honest truth: a well-organized front-end on modest hardware beats a cluttered setup on a powerful machine every time. Software experience and hardware specs carry equal weight.
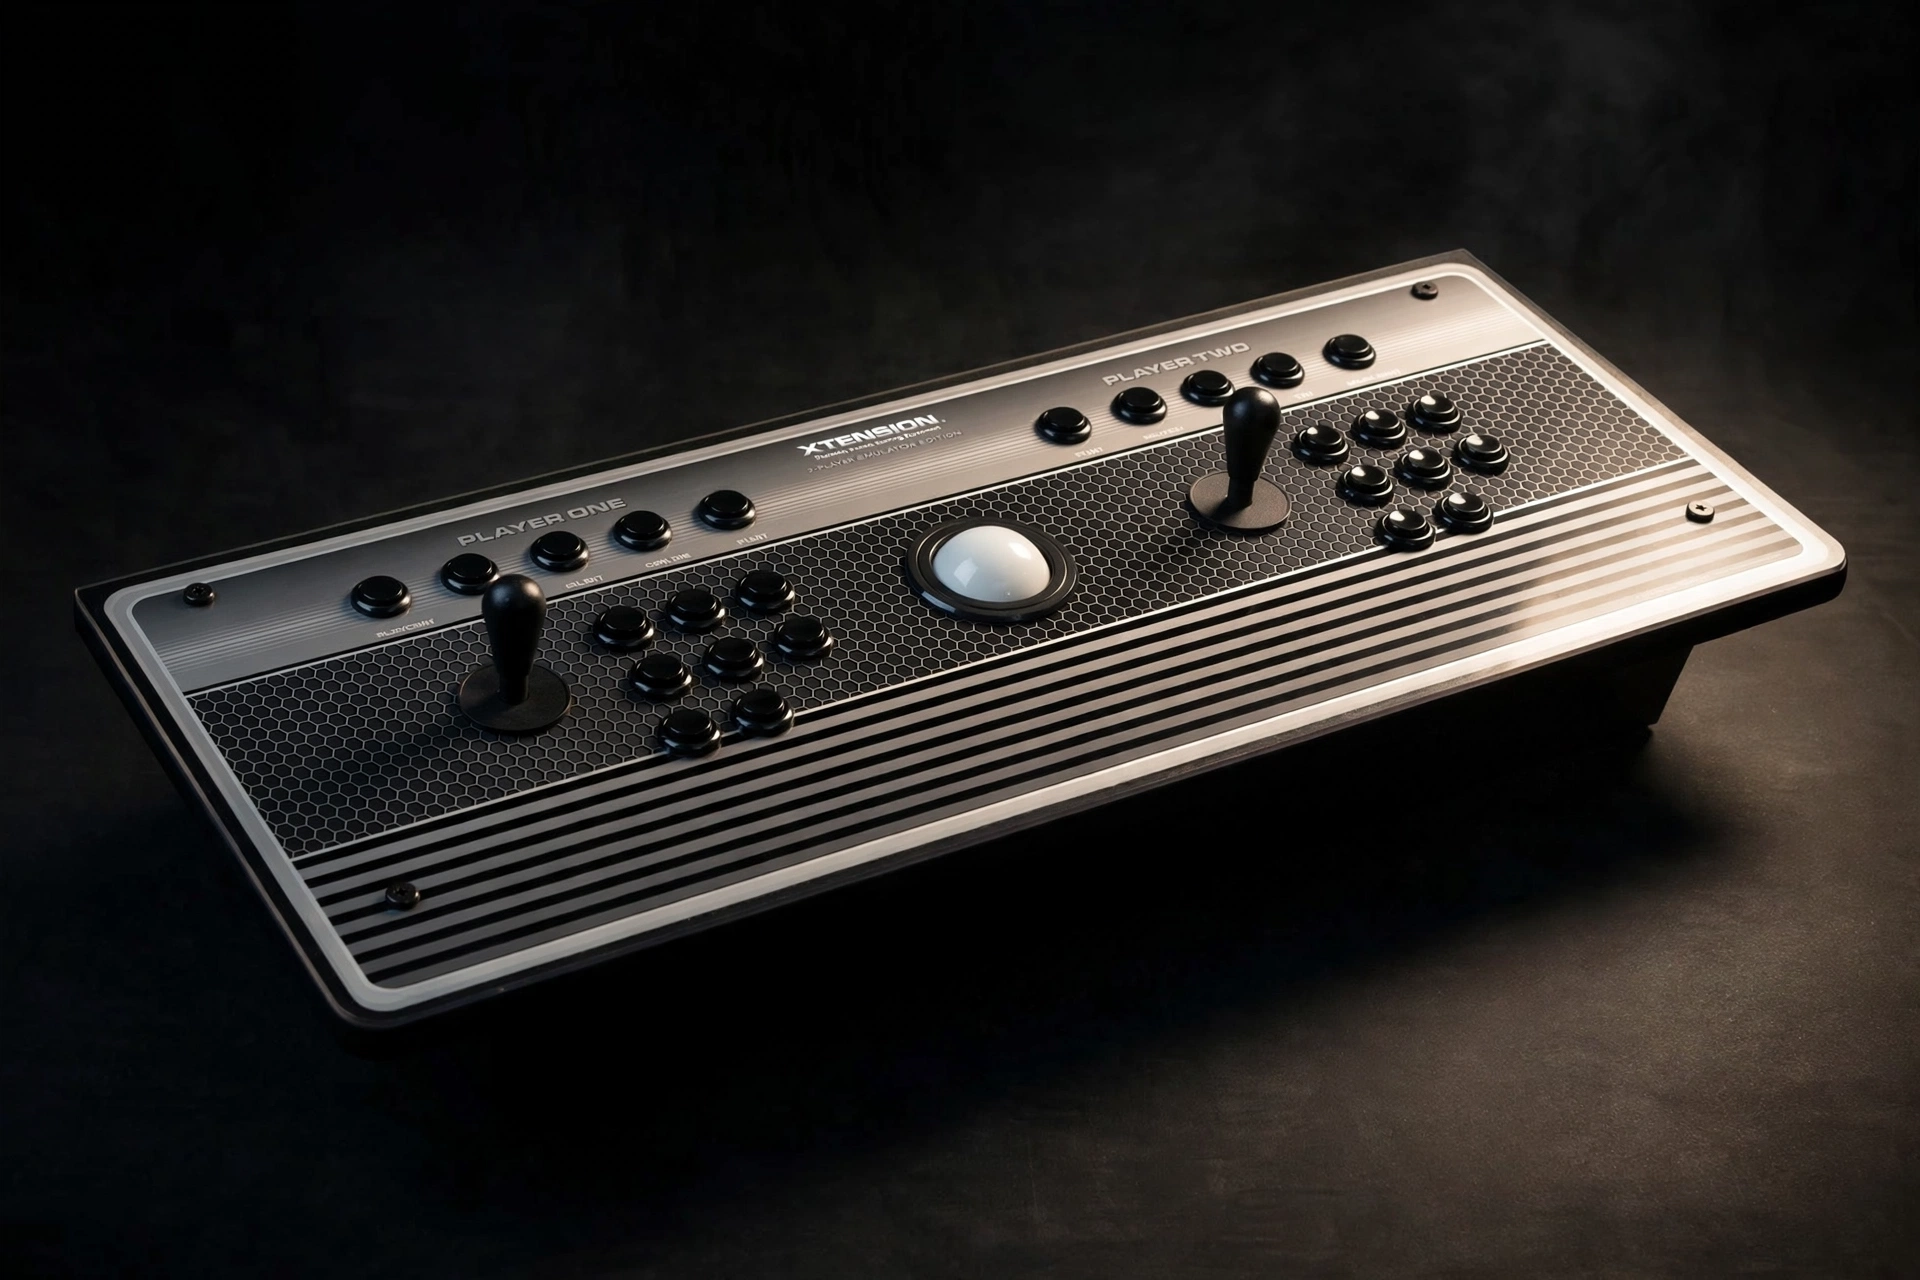
Quick recommendation: RetroPie or Batocera for entry builds; MAME or LaunchBox for mid-to-enthusiast builds. Pair whichever you choose with a quality controller, like the fully assembled Xtension 2 Player Arcade Controller, and your inputs will feel as solid as your software.
The Canadian Legal Context: What DIY Builders Should Actually Know
Now that your software stack is sorted, there’s one more thing worth addressing before you start building your library: the legal landscape for Canadian builders.
The good news first: emulator software is completely legal in Canada. Tools like MAME, RetroArch, and Dolphin are freely distributed, widely used, and don’t violate Canadian copyright law. The software itself mimics hardware logic, and that’s not an infringement under Canadian statute.
ROM files are a different story. Under the Copyright Act (R.S.C., 1985, c. C-42), reproducing a copyrighted game file without authorization is technically an infringement. That applies regardless of whether you own the original cartridge or arcade board. The widely repeated belief that owning the physical game entitles you to a ROM copy has no basis in Canadian law. It isn’t codified anywhere in the statute, and the Canadian Intellectual Property Office (CIPO) offers no guidance that changes this picture.
The practical reality: enforcement against personal home-use ROM libraries in Canada is effectively non-existent. Rights holders focus overwhelmingly on commercial infringement, such as selling pre-loaded cabinets or charging for arcade play. A private collection for personal enjoyment occupies a very different risk category, though “low enforcement risk” is not the same as “legal permission.”
To be clear: this guide is not legal advice. Builders with genuine concerns should consult the Copyright Act directly or speak with a lawyer familiar with intellectual property law.
Officially released compilations, public domain titles, and open-licence homebrew form the safest foundation.
Planning Your Arcade Cabinet Kit Build as a Canadian Buyer
With the legal landscape noted, the practical question becomes: what does it actually cost to get a cabinet to your door in Canada, and what should your budget look like?
Cross-border shipping is a real line item. Arcade cabinets are large, heavy freight items, and shipping from a U.S. retailer to a Canadian address adds meaningful cost. Factor in freight charges before finalising your budget, not after.
On duties: Under CUSMA/USMCA, goods manufactured in the U.S. historically qualified for preferential tariff treatment, reducing or eliminating duties for Canadian consumers. However, the tariff environment has shifted considerably since 2025, with new measures affecting furniture and related categories. Before you order, confirm the current duty rate on your specific cabinet’s harmonised tariff code with Canada Border Services Agency or a customs broker. A $1,000 USD cabinet kit could carry a meaningful duty bill depending on current policy.
The smart split: Ship the cabinet shell from the U.S. and source your PC internals domestically. Retailers like Canada Computers and Memory Express stock everything you need, so the computing hardware investment stays local, sourced domestically, avoiding cross-border freight and potential duty complexity.
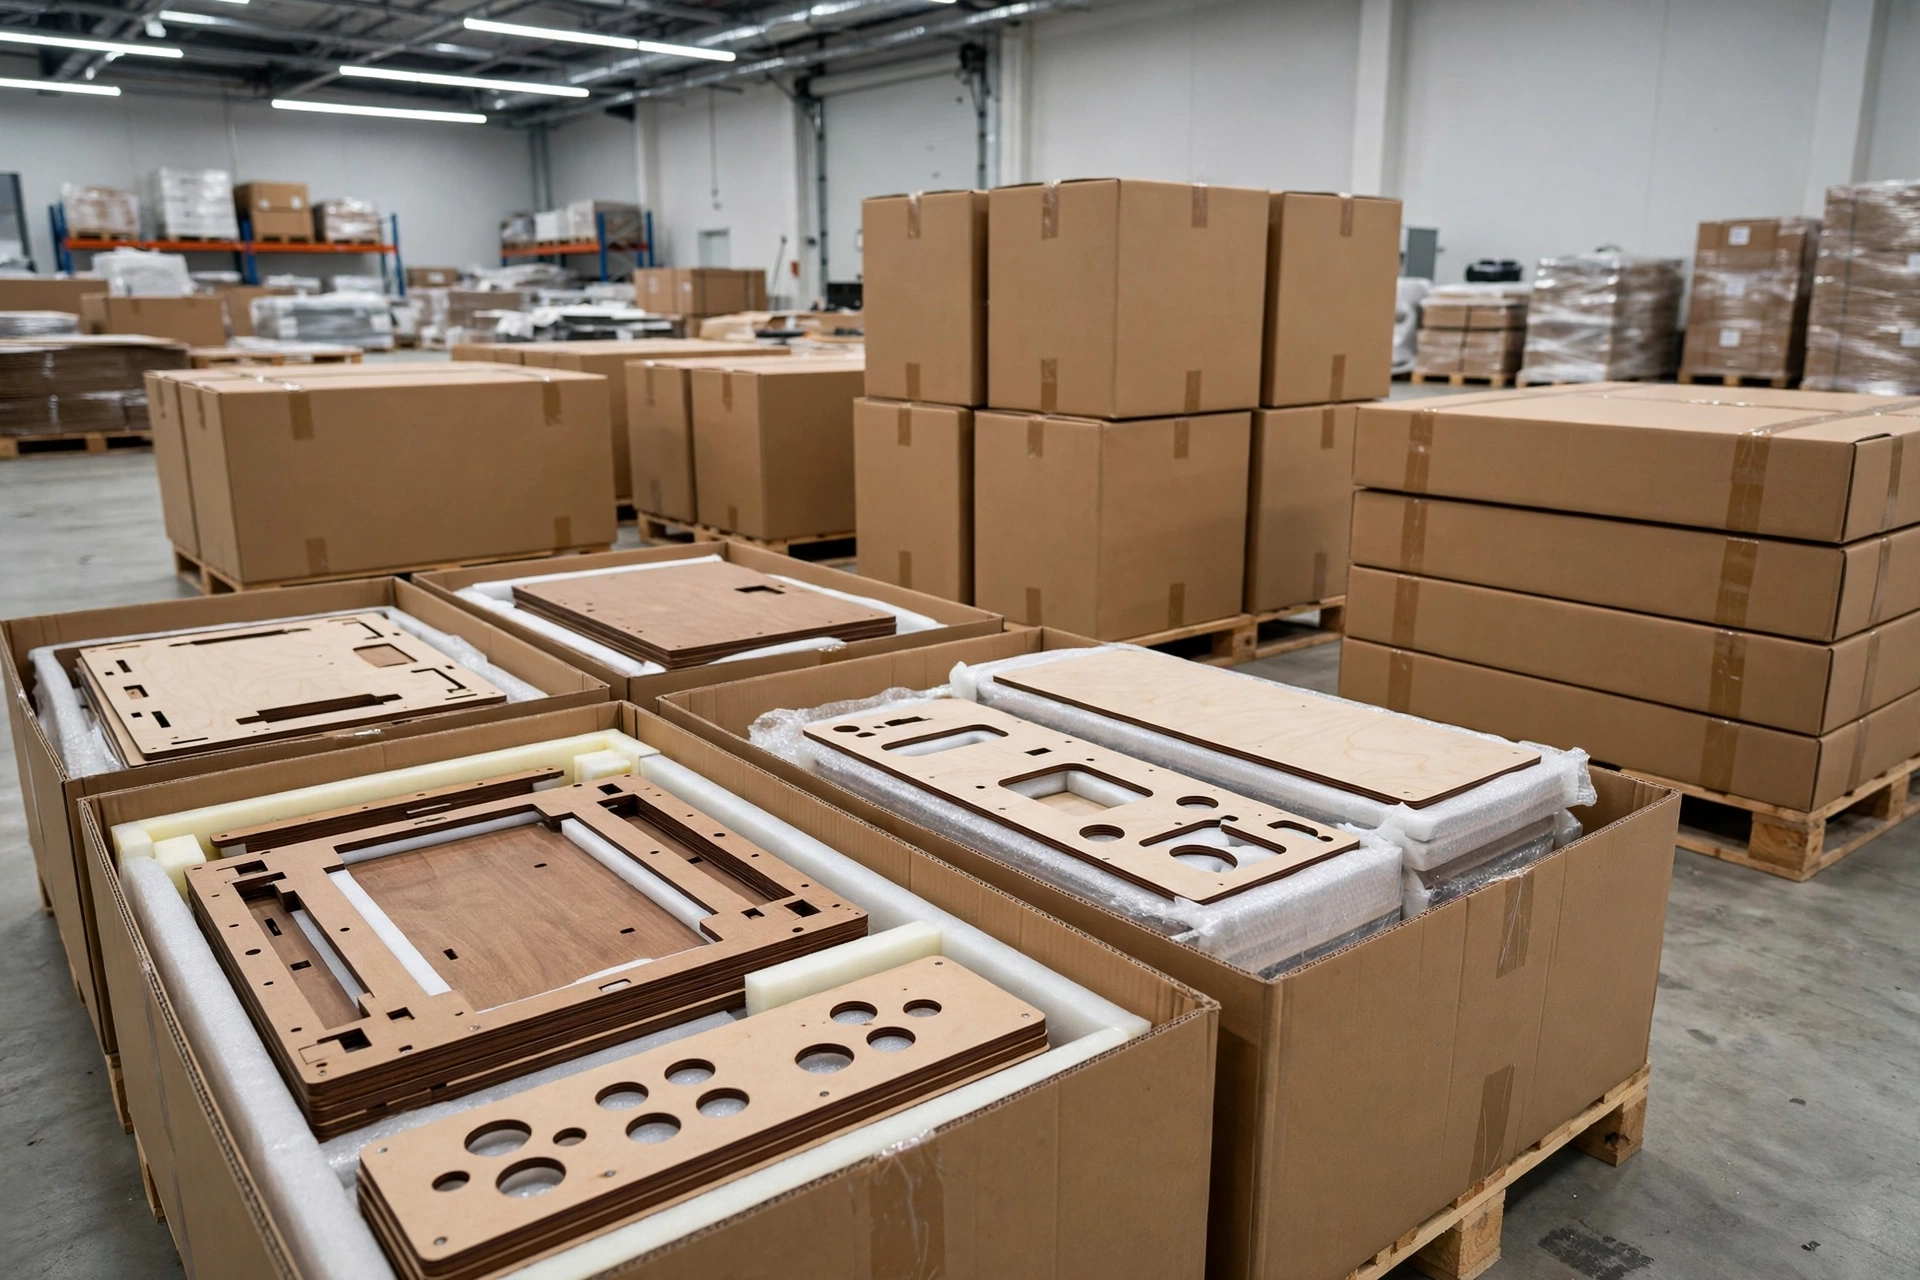
Flat-pack is your friend. The Xtension cabinet’s self-assembly format ships in panels rather than as a fully assembled unit, which reduces dimensional weight and keeps freight costs lower than a pre-built cabinet would.
Budget reality for Canadian builders: A complete enthusiast setup covering the cabinet kit, domestic PC hardware, monitor, and software stack lands realistically in the $1,500 to $2,500 CAD range. Controllers ship fully assembled, so your inputs are ready from day one.
So How Many Games Can It Actually Run? The Honest Answer
So, back to the question on the box: how many games are we actually talking?
Entry-tier build (think Intel N100, 4GB RAM, 256GB SSD): a well-configured cabinet runs a focused library of classic 8-bit and 16-bit titles, think hundreds of retro favourites across NES, SNES, and early arcade boards, with zero performance hiccups. That covers NES, SNES, Game Boy, and classic CPS-1 arcade titles without breaking a sweat.
Mid-tier build (Core i5 or Ryzen 5, 8GB RAM, 512GB SSD): pair MAME with a multi-system front-end and you’re hosting a broad multi-system library spanning arcade, SNES, Sega Genesis, Neo Geo, and 32-bit consoles, easily stretching into the thousands of titles if you curate freely. This is the sweet spot for most builders.
Enthusiast-tier build (Core i7 or Ryzen 7, 16GB RAM, 1TB SSD): add PlayStation, Dreamcast, N64, and select PS2 titles, and there is virtually no practical ceiling for retro content, with sixth-generation consoles added to the mix.
Storage is the one genuine hard limit. A 1TB SSD leaves the majority of the drive available after system installation, which is more than most builders will ever actually fill.
Here is the point worth holding onto: the cabinet shell is identical at every tier. Whether you end up with a focused retro machine or a full home arcade museum depends entirely on the hardware inside and the software stack on top. A well-chosen Xtension 4 Player Arcade Controller handles input at any tier without compromise.
One last nudge: chase curation, not count. A tight 300-game library of titles you genuinely love is more fun than a bloated list you scroll past every time.
Build the Cabinet. Then Build the Library.
So you’ve got the full picture now. The cabinet is the foundation; the emulator setup is what actually fills the room with games.
The tiers and legal ground rules are now in your hands, what follows is how to bring the whole build together.
For the physical build itself, the 32″ Upright Xtension 4 Player Arcade Machine from Rec Room Masters is a strong starting point, built from quality MDF with a pre-drilled control panel and room for standard PC hardware. The controllers ship fully assembled, so at least one part of your build is ready to go the moment the box arrives.
The cabinet goes up once. The library? That one never really stops growing. Think of it less like a purchase and more like a hobby that happens to live in your basement.
Conclusion
Building an arcade cabinet in Canada is equal parts engineering project and ongoing creative pursuit. The hardware you choose sets your ceiling, the software you install opens the door, and the library you curate makes it yours.
The hardware tier you choose shapes your library’s depth; the software stack shapes its personality. The cabinet shell from Rec Room Masters handles the physical foundation so you can focus your energy where it matters most.
Ready to start? Pick your hardware tier, download a frontend like LaunchBox or RetroPie, and source your ROMs responsibly. Your first game will boot up faster than you expect.
The cabinet is a one-time build. The fun of filling it is permanent.
