

RecRoomMasters
Setting Up Your Xtension Arcade Cabinet: Room Layout, Clearance, and Lighting Tips
Sep
You finally did it. You sourced the parts, followed the guides, and put in the hours to build arcade cabinet of your dreams. But here’s the thing nobody really talks about: finishing the build is only half the battle. Where you put that cabinet, how much room it actually needs, and how you light the space around it will make or break the whole experience.
Plenty of resources cover the construction side of things, but solid installation guidance, especially for Canadian homes and rec rooms, is surprisingly hard to find. Dimensions are scattered, lighting advice is basically nonexistent, and cable management tips for finished setups? Good luck.
That’s exactly why this guide exists. Whether you’re working with an upright Xtension model or a sit-down cabinet, we’re walking you through everything that comes after the build: floor space requirements, proper clearance, ambient lighting that actually works, and electrical setup that keeps things clean and safe. By the time you’re done reading, you’ll know exactly how to set up your space so it looks as good as the cabinet deserves.
Before You Move Anything: What You Need to Know First
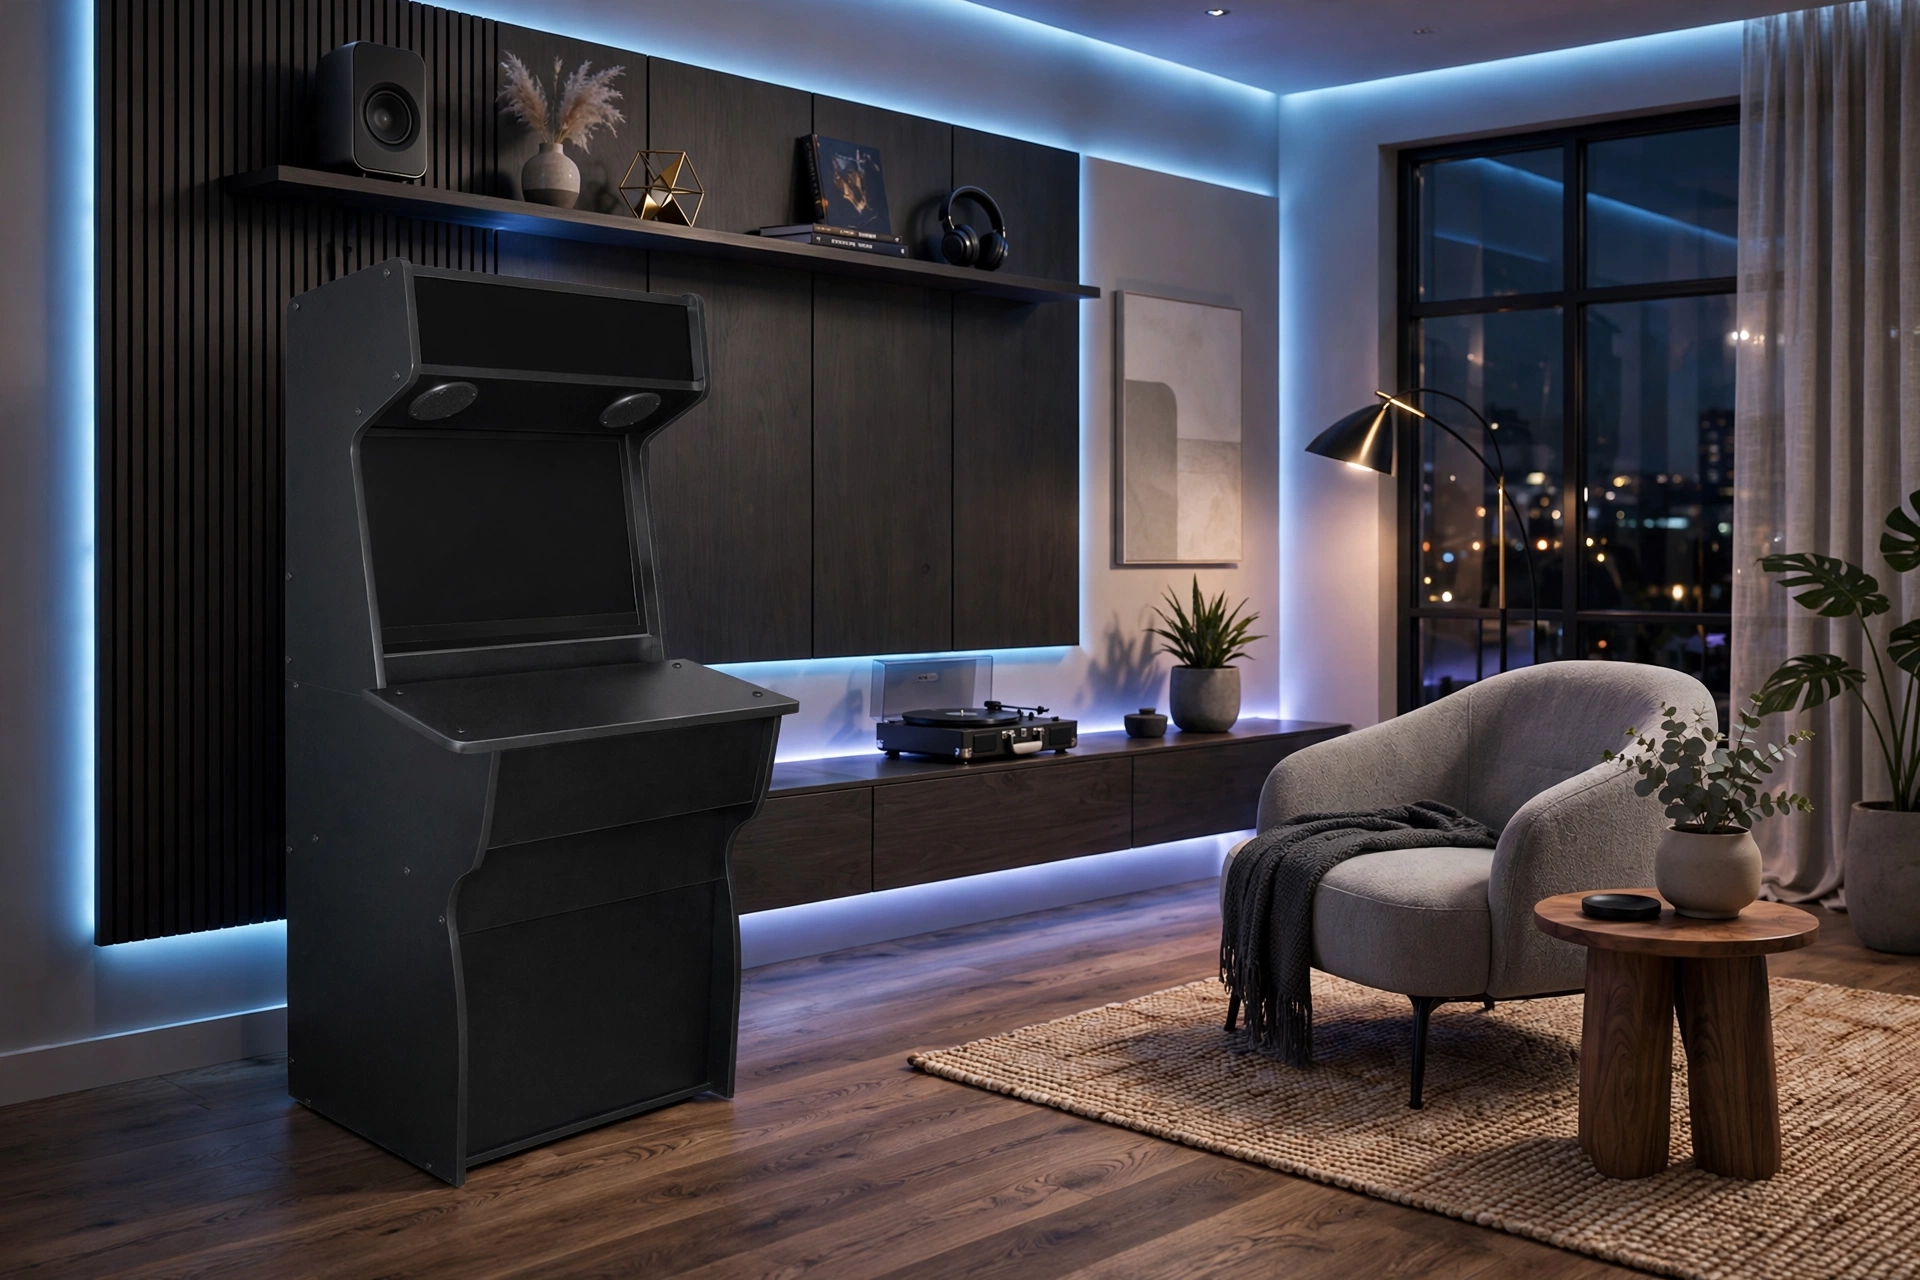
The build is done. Before you muscle that cabinet into its forever home, spend 20 minutes on the groundwork below, it will save you from the classic mistake of discovering your cabinet fits the room but not the door frame, or tripping the breaker the first time you hit the start button.
Know your footprint before you commit to a spot. Check the product page for your specific Xtension model for exact measurements before planning your space. Sit-down cocktail-style models run wider and lower, demanding an entirely different floor plan. Here’s a quick reference:
| Model Type | Width | Depth | Height |
|---|---|---|---|
| Xtension Upright | See product page | See product page | See product page |
| Sit-Down / Cocktail | See product page | See product page | See product page |
Centralised specs like this are genuinely rare across the industry. If you want the full picture before committing to a spot, the DIY arcade cabinet kits guide for Canadian buyers walks through exactly what you’re working with. Sit-down models are proudly manufactured in the USA and carry precise specs worth cross-referencing.
Gather these four tools before anything moves:
- Tape measure
- Painter’s tape (for mocking up the footprint directly on the floor)
- Stud finder (if you’re wall-mounting any accessories)
- A phone level app to confirm your floor is actually flat
Check your circuit before you plug in. Consult your cabinet’s documentation for its specific power draw, the combination of monitor, PC components, LED strips, and audio can add up quickly on a shared circuit.
Canadian-specific note: Basement rec rooms frequently run on 15-amp circuits shared across multiple outlets. A quick review against CSA C22.1 (the Canadian Electrical Code) before your arcade cabinet build is fully complete will keep game night from ending at the breaker box.
Floor Space 101: Upright vs. Sit-Down Cabinet Requirements
Now that you know your cabinet’s exact dimensions, the next question is whether your room can actually use that space properly.
With an upright cabinet, the cabinet’s documented footprint is only half the equation. The playable zone in front of the cabinet matters just as much. Leave enough clear floor space in front for a player to stand and move comfortably, more than you think, and double that width if two players will stand side by side. Tight basement rec rooms can surprise you here, especially once you account for a couch, a bar fridge, or the corner the staircase landing already claimed.
Sit-down models follow a completely different spatial logic. A cocktail cabinet or driving-style cab is significantly deeper than an upright, often extending well past the point where a player sits, once you factor in the seating position. You also need lateral clearance on both sides so players can slide in and out without grazing furniture. If you’re picking up sit-down candy cab arcade stools to complete the setup, build that footprint into your floor plan now, not after the cabinet is against the wall.
Speaking of weight: if you’re still in the building an arcade cabinet phase while choosing placement simultaneously, plan your move-in route before the build wraps up. Map the path first.
Clearance, Wall Proximity, and Keeping the Traffic Moving
Once your footprint is taped out and your player zones are mapped, the next layer is clearance, the buffer space that protects your components and keeps the room functional for everyone in it.
Back-wall gap: Leave a meaningful gap at the rear for power cable routing and heat dissipation, flush-against-the-wall placement traps heat and shortens component life.
Side clearance: Leave enough room on each side to access internal components when something eventually needs attention. On the side with any access panel, leave enough clearance to swing the door fully open. You cannot work on a cabinet you cannot open, and you will need to open it eventually.
Circulation paths: Keep main pathways through the rec room at least 36 inches wide. That standard comes from accessible route guidelines developed for public spaces, and it translates directly to residential comfort. Nobody should have to turn sideways to get from the couch to the bar fridge because your arcade setup claimed the middle of the room.
Corner placement: It looks efficient on paper, but a cabinet pushed straight into a corner creates awkward approach angles and monitor glare problems. Angling the cabinet slightly away from a dead corner improves both approach angle and screen visibility without sacrificing much floor space.
Multi-use rooms: If the rec room also functions as a home office or gym, commit to a full furniture layout before locking in the cabinet’s position. Your Xtension cabinet deserves a permanent home, not a spot that gets reconsidered every time someone rearranges the yoga mats.
Lighting Your Arcade Space: Ambiance Without the Eye Strain
Once your cabinet has a home on the floor, the next thing that makes or breaks the experience is light, specifically, the wrong kind landing in the wrong place.
Color temperature is your biggest lever. Warm white bulbs recreate the golden glow of a classic arcade hall and suit wood-grain cabinet finishes; cooler daylight-balanced bulbs suit darker, high-contrast modern builds. Check your bulb packaging, the colour temperature is marked there. Neither is wrong; they’re just telling different stories.
Get the angles right before you get comfortable. Overhead lighting aimed directly at the monitor face creates glare that no brightness setting can fix. Positioning the light source to the side or behind the player rather than aimed directly at the screen face eliminates most reflections. This matters especially for the glossy monitor bezels common on many arcade builds, worth checking during setup, not after you’ve finished routing every cable.
Add bias lighting and you’ll wonder why you didn’t do it sooner. LED strips mounted behind or beneath the cabinet add ambient glow around the screen that makes the cabinet look finished, and many players find it more comfortable for long sessions. For a deeper look at which arcade cabinet parts pair well with accent lighting, that’s worth a read before you finalize your build.
Canadian basements need a layered approach. With minimal natural light, a single overhead fixture isn’t enough. One general-purpose overhead light, LED strips on the cabinet, and at least one dimmable source gives you flexibility for a proper gaming session or a social night without the space feeling like a surgery suite or a cave.
One last thing: avoid positioning the cabinet directly underneath a ceiling pot light. The downward beam creates hotspots on the control panel and throws unflattering shadows across players’ faces during multiplayer. Keeping the cabinet some distance from any fixed overhead pot light solves this.
Cable Management and Electrical Setup Done Right
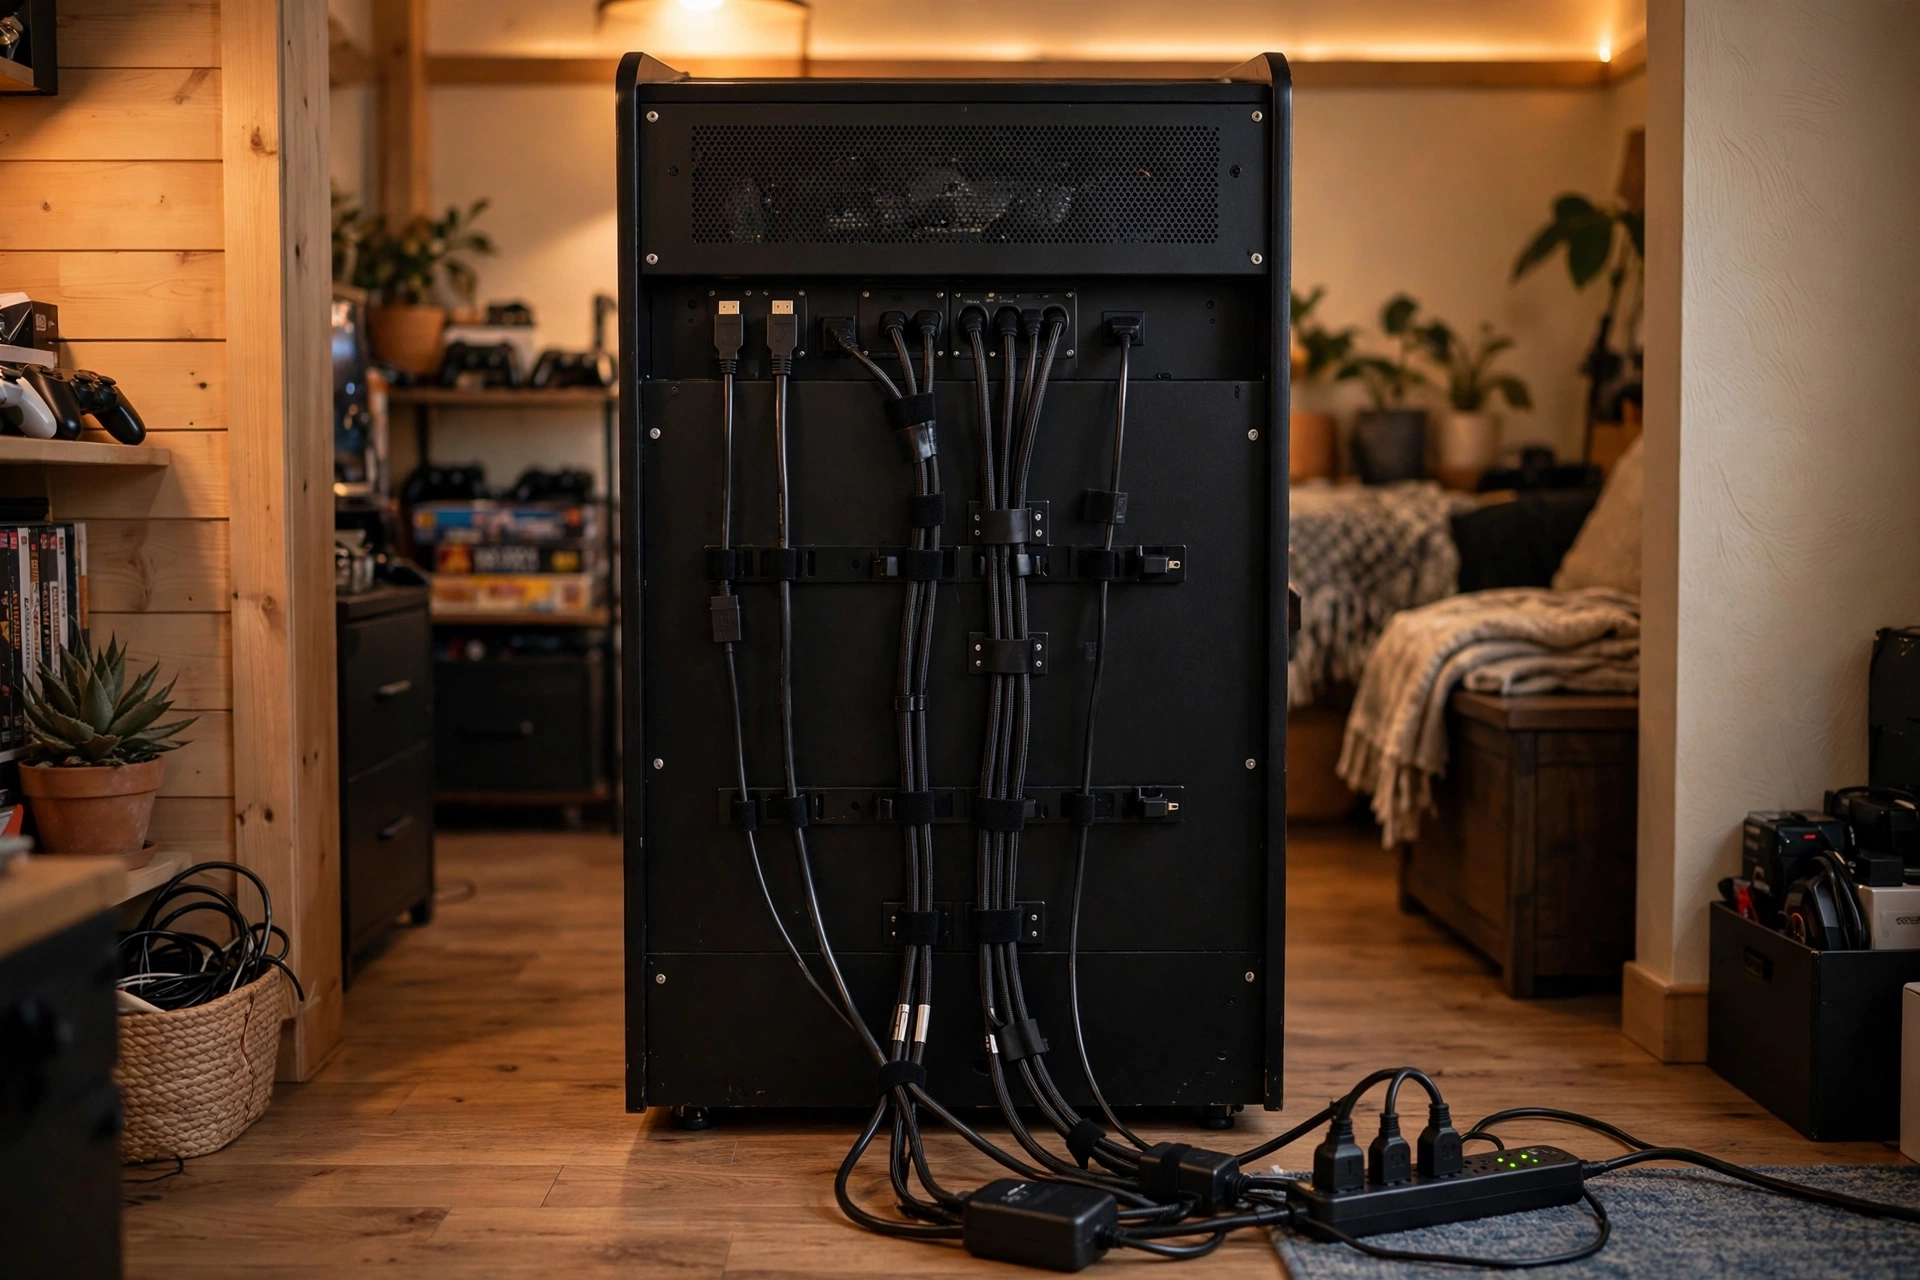
With the lighting sorted, the last thing standing between you and a finished rec room is the stuff nobody photographs but everyone notices when it goes wrong: cables and power.
Route power cables along the baseboard, behind the cabinet, using low-profile cable raceways or adhesive clips rated for your wire gauge. It takes twenty minutes and the difference between “intentional installation” and “fire hazard spaghetti” is immediately visible to anyone who walks into the room.
Surge protection is non-negotiable. Aim for a quality surge protector with a high joule rating, check the manufacturer’s spec sheet for what they recommend for PC monitors and sensitive electronics. Arcade monitors and PC components are genuinely sensitive to voltage spikes, and a quality surge protector costs a fraction of a replacement monitor. Think of it as the cheapest insurance policy you’ll ever buy for your build.
For internal cables connecting your speakers, streaming capture cards, or external controllers, use velcro ties instead of zip ties. When you inevitably want to swap a component (and you will), velcro ties are far easier to undo when you need to swap a component. Zip ties mean scissors, cursing, and replacing the entire bundle. If you’re wiring up something like a 4 Player DIY Arcade Cabinet, you’ll have considerably more cables in play, and the velcro advantage compounds quickly.
Finally, label every cable during the build phase. A small tag on each connector costs nothing. Diagnosing a dead marquee or a silent coin door at 11 PM without labels costs you the rest of your evening.
Pro Tips and the Mistakes Everyone Makes Once
With cables managed and the room wired up, here’s where most builders breathe a sigh of relief and call it done. Don’t. A handful of easy-to-skip steps separate a cabinet that’s installed from one that’s actually set up right.
Test the monitor angle before the cabinet touches the wall. Sit down or stand at actual playing height and confirm the screen centre lands roughly at eye level. This takes two minutes before the installation is buttoned up, and it’s nearly impossible to course-correct afterwards without pulling the cabinet back out.
Level the cabinet before you finish the room around it. Basement and rec-room floors across Canada carry subtle slopes that are invisible until your cabinet starts rocking mid-button-mash. Check whether your specific Xtension model includes adjustable leveling feet, if it does, set all four before the surrounding trim, rugs, or furniture lock the cabinet into position.
Document your build as you go. When you’re building an arcade cabinet, take photos of the internal cable routing, component positions, and any custom wiring before closing everything up. Those reference shots are genuinely invaluable when you’re troubleshooting a quirk twelve months later and can’t remember which connector goes where.
Plan for the second cabinet now, even if you’re only buying one today. It’s a well-known slippery slope. A single upright looks great centred on a wall; a matched pair flanking that same wall looks intentional. Roughing in the layout for two from the start costs nothing and saves a full room rearrangement later. The 2 Player DIY Arcade Cabinet features and dimensions are worth reviewing early if a multiplayer setup is even a remote possibility.
Before committing to a final position, cross-reference your specific model’s dimensions from the product page against your painter’s-tape floor outline.
Your Setup Is the Final Level, Make It Count
You’ve avoided the common mistakes and documented the build well. Now close it out the right way.
Before the cabinet goes against the wall for good, run through this checklist one final time:
- Dimensions confirmed against your room measurements
- Floor footprint taped out with player clearance included
- Circuit capacity checked for the combined load of monitor, PC, speakers, and LEDs
- Lighting plan finalized while you still have easy access
Do the lighting work first, once the cabinet is flush to the wall and cables are buttoned up, revisiting that work becomes awkward fast.
Good cable management, covered earlier in this guide, is just as important to close out properly: bundled cables, raceways along the baseboard, and labelled connectors protect your components and make future upgrades far less painful.
For Canadian builders specifically: as covered in the electrical section above, confirm your circuit can handle the combined load before calling the installation complete, shared basement circuits fill up faster than expected.
The arcade cabinet build earns the attention, but a well-planned installation is what makes it a proper rec room centrepiece. Take the extra hour. You’ll notice it every time you play.
Conclusion
A great arcade setup comes down to four things done well: accurate floor planning before anything moves, proper clearance so the space stays comfortable and safe, intentional lighting that sets the mood without causing fatigue, and clean electrical work that protects your investment for the long run.
None of these steps are complicated, but skipping them creates problems that compound over time. A rushed layout feels wrong every single session. Poor cable management turns a simple upgrade into a headache. Bad lighting kills the atmosphere you worked hard to build.
Before you plug anything in, revisit the checklist in this guide and confirm each element is in place. Your Xtension cabinet deserves a setup that matches its quality.
Get the room right, and every game you play will feel like it belongs there. That experience is worth the extra planning.
