

RecRoomMasters
Raspberry Pi Arcade Cabinet Kit: What the DIY Builder Actually Gets (and What They Don’t)
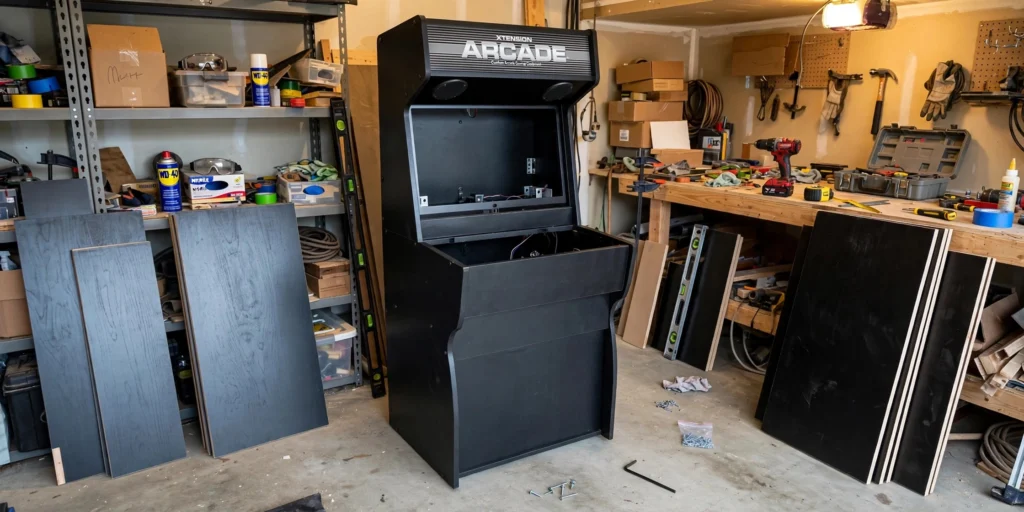
Sep
You’ve seen the listings. A Raspberry Pi arcade cabinet kit for $150, maybe $200, and suddenly you’re imagining a full arcade setup in your living room without draining your wallet. It looks like a no-brainer. But here’s what most product pages won’t tell you upfront: that price is just the starting point, not the finish line.
If you’ve built a few tech projects before and you’re thinking about diving into a Raspberry Pi arcade cabinet kit, this post is written specifically for you. We’re going to pull back the curtain on what these kits actually include when they arrive at your door, what you’ll inevitably need to source separately, and where the real costs start stacking up in ways nobody bothers to mention. We’ll also walk through the time investment, the compatibility headaches, and what a purpose-built alternative actually looks like by comparison.
The goal here isn’t to talk you out of a Pi build or into one. It’s to make sure you’re budgeting honestly from day one, so there are no surprises halfway through the project when your parts list has quietly doubled in price.
The $150 Illusion: Why Pi Arcade Kits Look So Good at First Glance
There’s a reason the raspberry pi arcade cabinet kit listing stops you mid-scroll. A single-board computer, a passionate open-source community, and a headline price that makes the whole project feel weekend-sized. That combination is genuinely compelling, not a trick.
Here’s where it gets tricky. A Raspberry Pi 5 in the 4GB to 8GB range, the sweet spot for arcade emulation, currently retails between $70 and $95. Add a power supply and a microSD card and you’ve got a sub-$200 listing that looks like a complete starting point. It isn’t. What those listings rarely highlight is the long column of parts still in the “sold separately” category.
The DIY arcade cabinet kit market makes this worse by being wildly inconsistent. Some kits are essentially a board, a power adapter, and a download link. Others add a USB encoder PCB but no buttons to plug into it. Almost none include an enclosure, a monitor, or joysticks. The word “kit” is doing a lot of heavy lifting across very different products.
That gap between the kit price and the actual total project cost is where builder frustration is born. If you want a sense of what a more complete flat-pack build experience looks like, this breakdown of what a DIY arcade cabinet kit actually delivers is worth a few minutes of your time.
This guide isn’t here to talk you out of the Pi path. It’s here to make sure you’re budgeting for the whole trip, not just the first tank of gas.
What a Raspberry Pi Arcade Cabinet Kit Actually Includes
So what does that sub-$200 kit actually put in your hands? More than you might expect on the software side, considerably less than you need on the hardware side.
The core of any arcade cabinet kit Raspberry Pi bundle is the board paired with a pre-loaded microSD card running RetroPie, Batocera, or Recalbox. These emulation OS images are genuinely polished in 2026, and the board-plus-software layer mostly just works.
Many kits bundle a USB encoder board, a small PCB that translates arcade button presses into keyboard inputs the Pi can read. A quality encoder is plug-and-play. A cheap one ships with inconsistent firmware, marginal connectors, and a 50/50 shot at driver headaches. Understanding what separates quality arcade cabinet parts from filler hardware before you order saves real pain here.
Power supplies are hit-or-miss. When included, they’re typically spec’d for the Pi alone at 5V/3A. Add a display, LED-lit buttons, and a coin door, and that supply is suddenly very busy. Expect to upsize it.
The microSD storage tier (usually 32GB to 128GB) directly caps your ROM library. Bigger collections need bigger cards.
Here’s what virtually no kit includes: the cabinet enclosure, a monitor, arcade buttons and joysticks, speakers, or wiring harnesses. The Xtension 4 Player Arcade Controller illustrates how much hardware actually goes into just the control layer.
The kit is a starting point. The arcade machine is a different project.
The ‘Sold Separately’ Problem: What You’ll Actually Need to Source
So now you know what’s in the box. Here’s what isn’t.
The enclosure is where the sticker shock hits hardest. A flat-pack MDF cabinet or pre-cut enclosure kit runs $200 to $600-plus depending on size and material quality, and it’s the single cost that catches first-time builders most off guard. No enclosure means no arcade cabinet; it’s just a circuit board on your desk.
A monitor is next. A 19″ to 24″ LCD adds $80 to $200 depending on whether you’re sourcing new or secondhand. Portrait versus landscape orientation matters, and not every panel you find will cooperate cleanly.
Arcade-grade buttons and joysticks for a full two-player setup run $60 to $150. Buy cheap here and you’ll be replacing sticky sticks and dead buttons within months. If you’re eyeing something bigger, the component count scales fast; check out 4-player DIY arcade cabinet features to see how quickly that list grows.
Speakers, amplifier boards, and wiring harnesses are almost never included in a DIY kit, and wiring a cabinet cleanly requires more electrical comfort than many builders expect.
Finally, the miscellaneous pile adds up fast: T-molding, monitor brackets, coin door hardware, marquee lighting, and side-art printing are each a separate sourcing task. Combined, expect another $100 to $200 and a noticeable chunk of project time chasing down individual parts.
The Time Tax: The Cost Nobody Puts in the Budget
All those sourcing tasks eat money visibly. What they don’t show is time, and for a Pi arcade build, time is where the real budget overrun hides.
Software setup is manageable if you’re comfortable in a terminal, but manageable isn’t quick. Configuring RetroPie or Batocera, mapping controls across multiple emulators, and dialing in emulator-specific settings realistically takes 4 to 10 hours, even for someone who knows what they’re doing.
Compatibility troubleshooting is where that timeline stops being predictable. A USB encoder that runs perfectly on one Pi OS image can demand manual driver edits on another. The forum thread documenting the fix is often three years old, written for a different Pi revision, with half the linked resources dead.
Display configuration deserves its own warning. Getting the correct resolution, refresh rate, and overscan settings for a repurposed monitor can consume an entire afternoon without Linux display experience. That’s not a worst-case scenario; that’s a recurring theme in builder threads.
The community at r/RetroPie and r/arcade is active and willing to help, but support runs on volunteer time. A blocking issue Saturday afternoon may not get a useful response until Monday, and your build sits idle in the meantime.
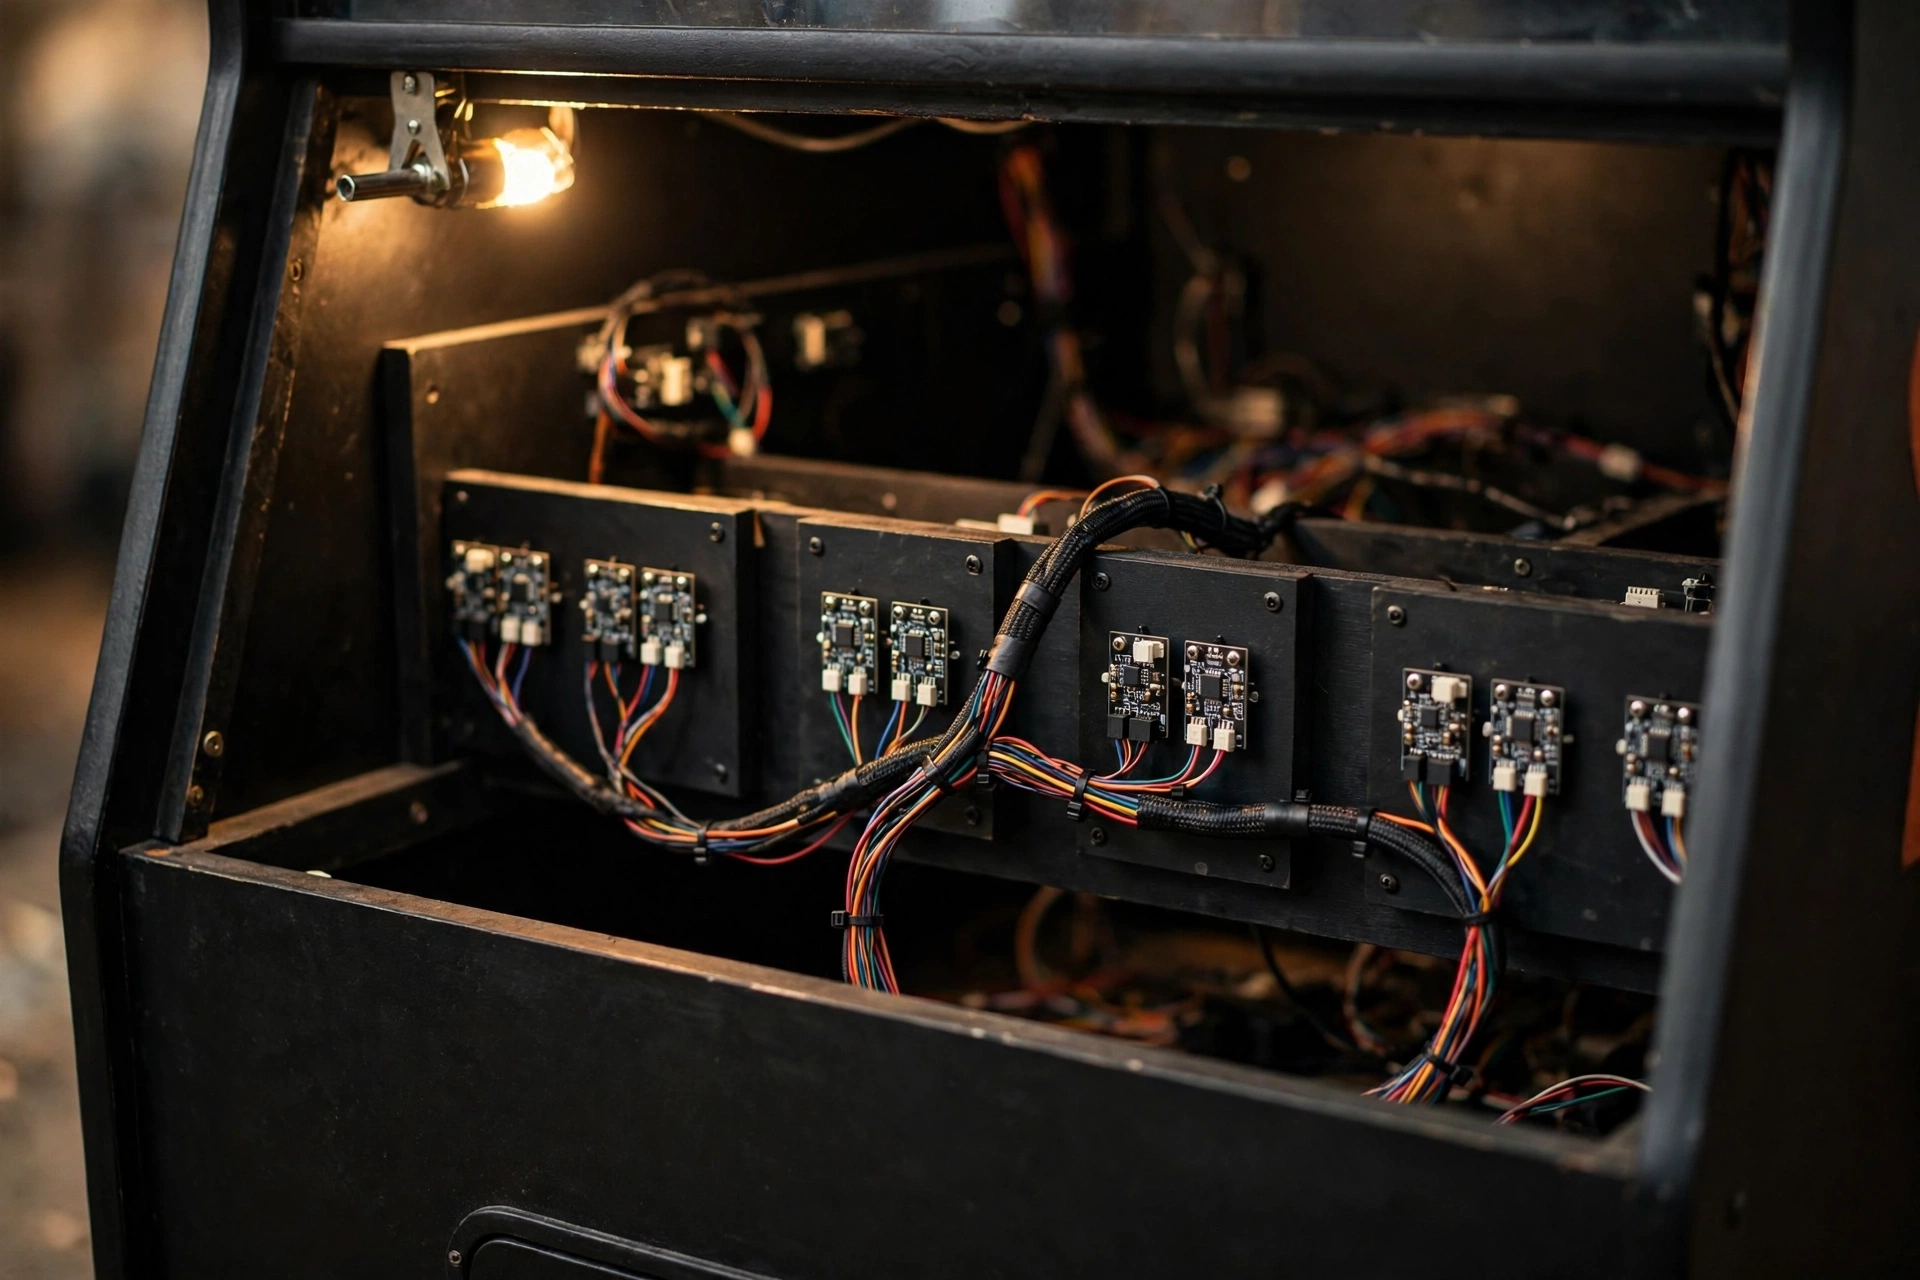
Add it up honestly: a first Pi arcade build typically runs 40 to 80 hours for an intermediate builder. That number almost never appears on a kit product page. If you’d rather skip the configuration marathon, something like the Xtension 2 Player Plus Arcade Controller ships fully assembled and ready to connect, with zero driver archaeology required.
Compatibility: Where Pi Builds Get Weird
Those time costs from the previous section trace back to one root cause: the Raspberry Pi was never designed to be an arcade machine.
It’s a general-purpose platform the community has adapted for arcade use. That distinction matters because compatibility between the board, encoder, display, and emulation software is a matrix of potential conflicts, not a pre-tested guarantee.
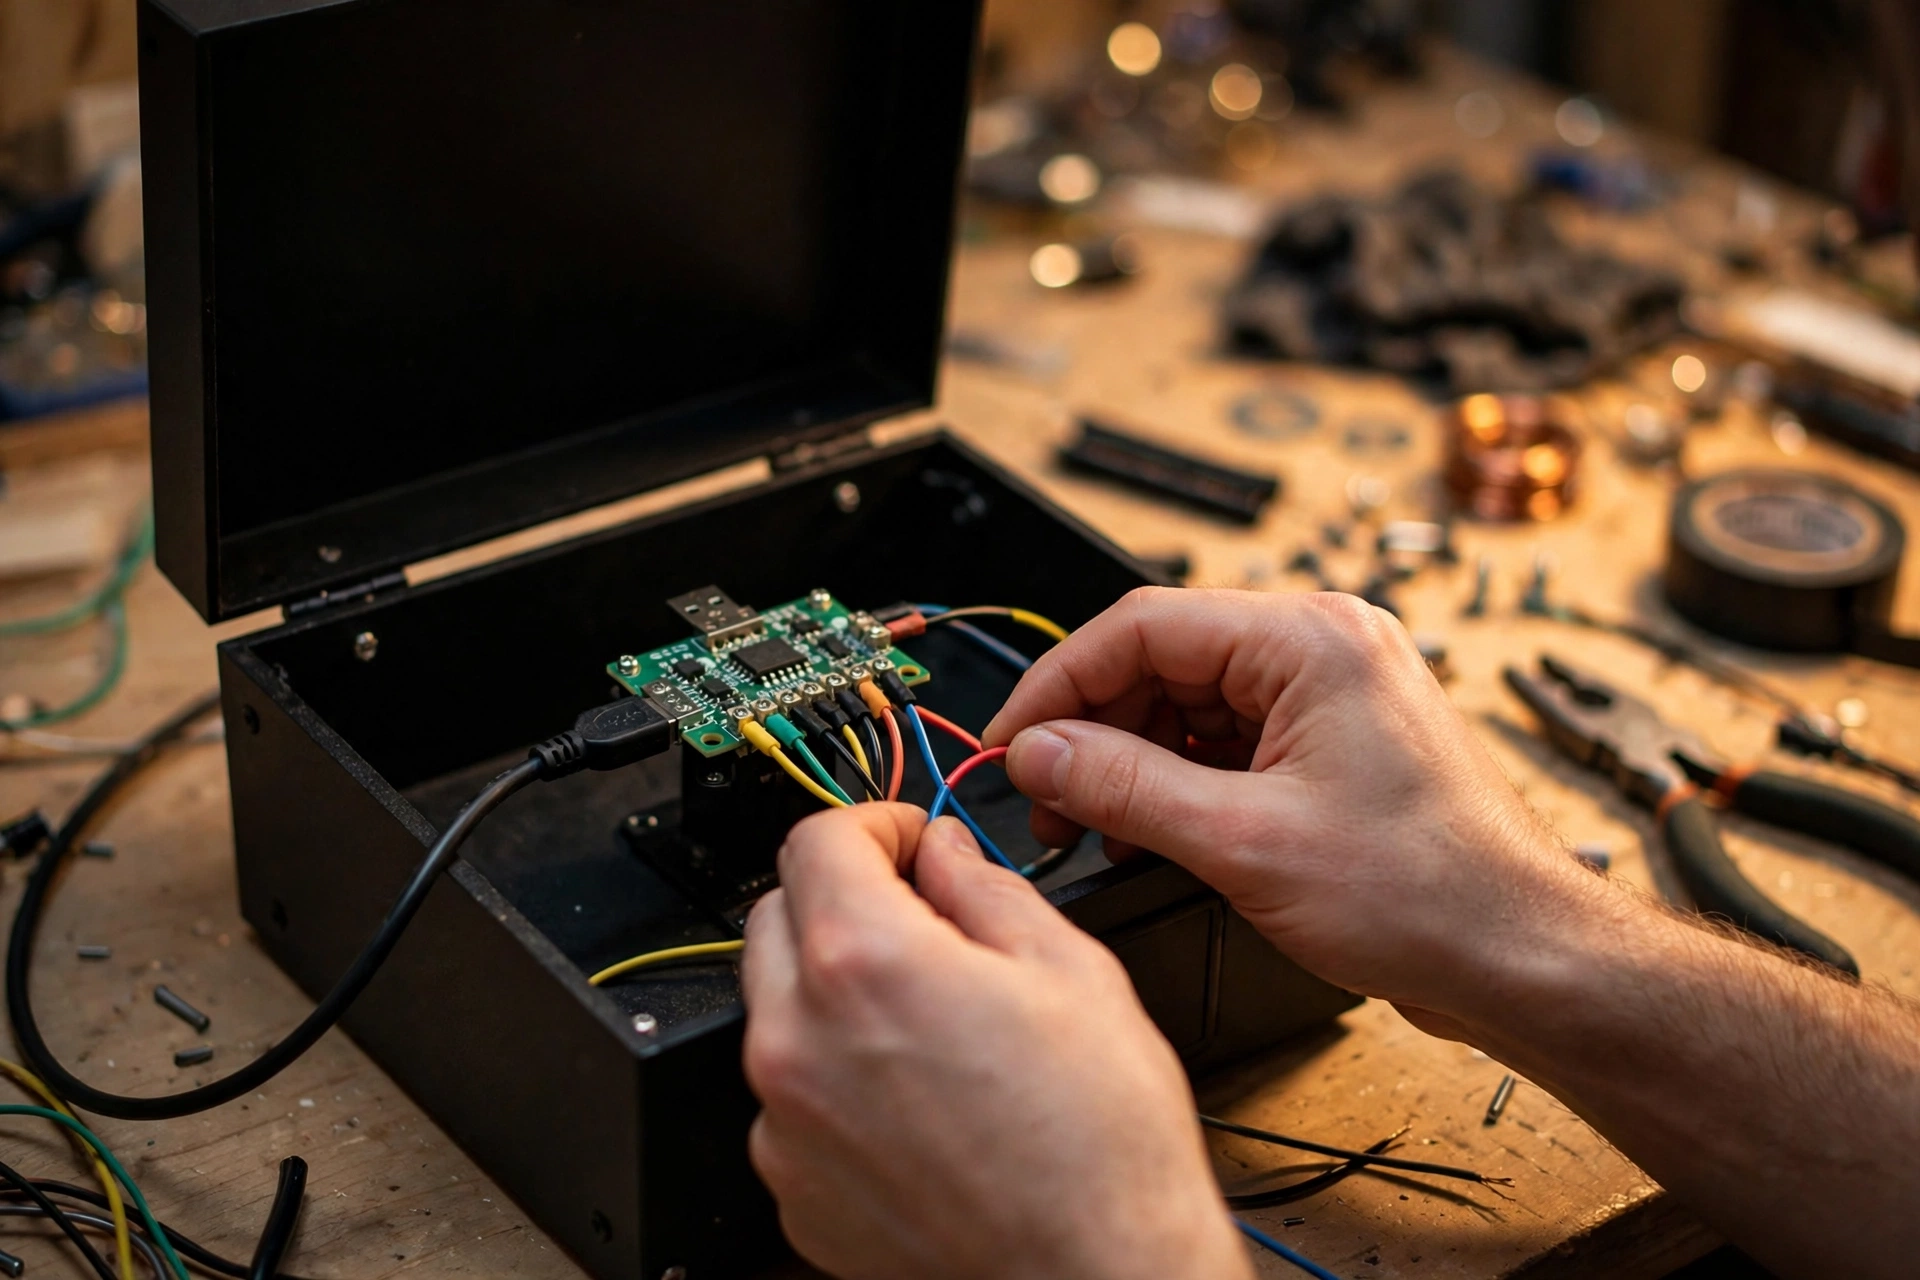
Encoder boards are the most common trip wire. Zero-delay USB encoders work fine for basic setups, but depending on your OS version and emulator they can produce double-input errors, measurable input lag, or axis confusion. The fix usually exists, but finding it means digging through forum threads.
HDMI adapters add another layer. Repurposing an older monitor with an HDMI-to-VGA or HDMI-to-component adapter introduces signal conversion variables that can produce screen tearing, color shifting, or hard resolution caps your emulator wasn’t expecting.
Audio catches builders off guard most often. The Pi 5 removed the analog audio output, so plugging a simple amplifier board directly into the Pi no longer works. You’ll need HDMI audio extraction or a USB audio adapter, neither of which appears in most kit descriptions.
Power draw is the sneakiest problem. Running a Pi 5, a USB encoder, LED buttons, a coin door, and a display off a single undersized power supply can cause random reboots and SD card corruption. It presents as a software glitch. It’s actually a load calculation problem.
If you’d rather skip the compatibility detective work on controls, the Xtension 2 Player Arcade Controller ships fully assembled and ready to use, no encoder configuration required.
What a Pi Arcade Build Actually Costs When You Add It All Up
All those compatibility headaches have a price tag. Here’s what a complete, playable two-player Pi arcade cabinet actually costs a US builder in 2026 when every line item is on the table:
| Component | Realistic Range |
|---|---|
| Pi board and kit | $100–$180 |
| Enclosure | $250–$500 |
| Display | $100–$200 |
| Controls and encoder | $80–$150 |
| Audio hardware | $30–$80 |
| Wiring and miscellaneous hardware | $80–$150 |
| Cabinet finishing and art | $50–$150 |
| Total (parts only) | $690–$1,410 |
That range is wide because sourcing decisions vary wildly. But notice what’s not in that table yet.
Do-overs are real budget items. A burned-out encoder board, a display that turns out to be the wrong aspect ratio, a cracked T-molding shipment: these unplanned replacements add $50–$200 that never shows up in anyone’s YouTube build estimate.
Time costs more than most builders admit. At a conservative $20/hour, a 40–80 hour build adds $800–$1,600 to the true total. That number reframes the entire comparison with a purpose-designed two-player DIY arcade cabinet pretty quickly.
Cheap overseas sourcing creates a different problem. Builders chasing savings on a $12 encoder board often wait 3–6 weeks for it to arrive, stalling the entire project mid-build.
The honest bottom line: a resourceful builder with good luck can clear $700 in raw parts. Most first-timers don’t.
The Purpose-Built Alternative: What a Complete Arcade Cabinet Kit Actually Solves
So what does the alternative actually give you?
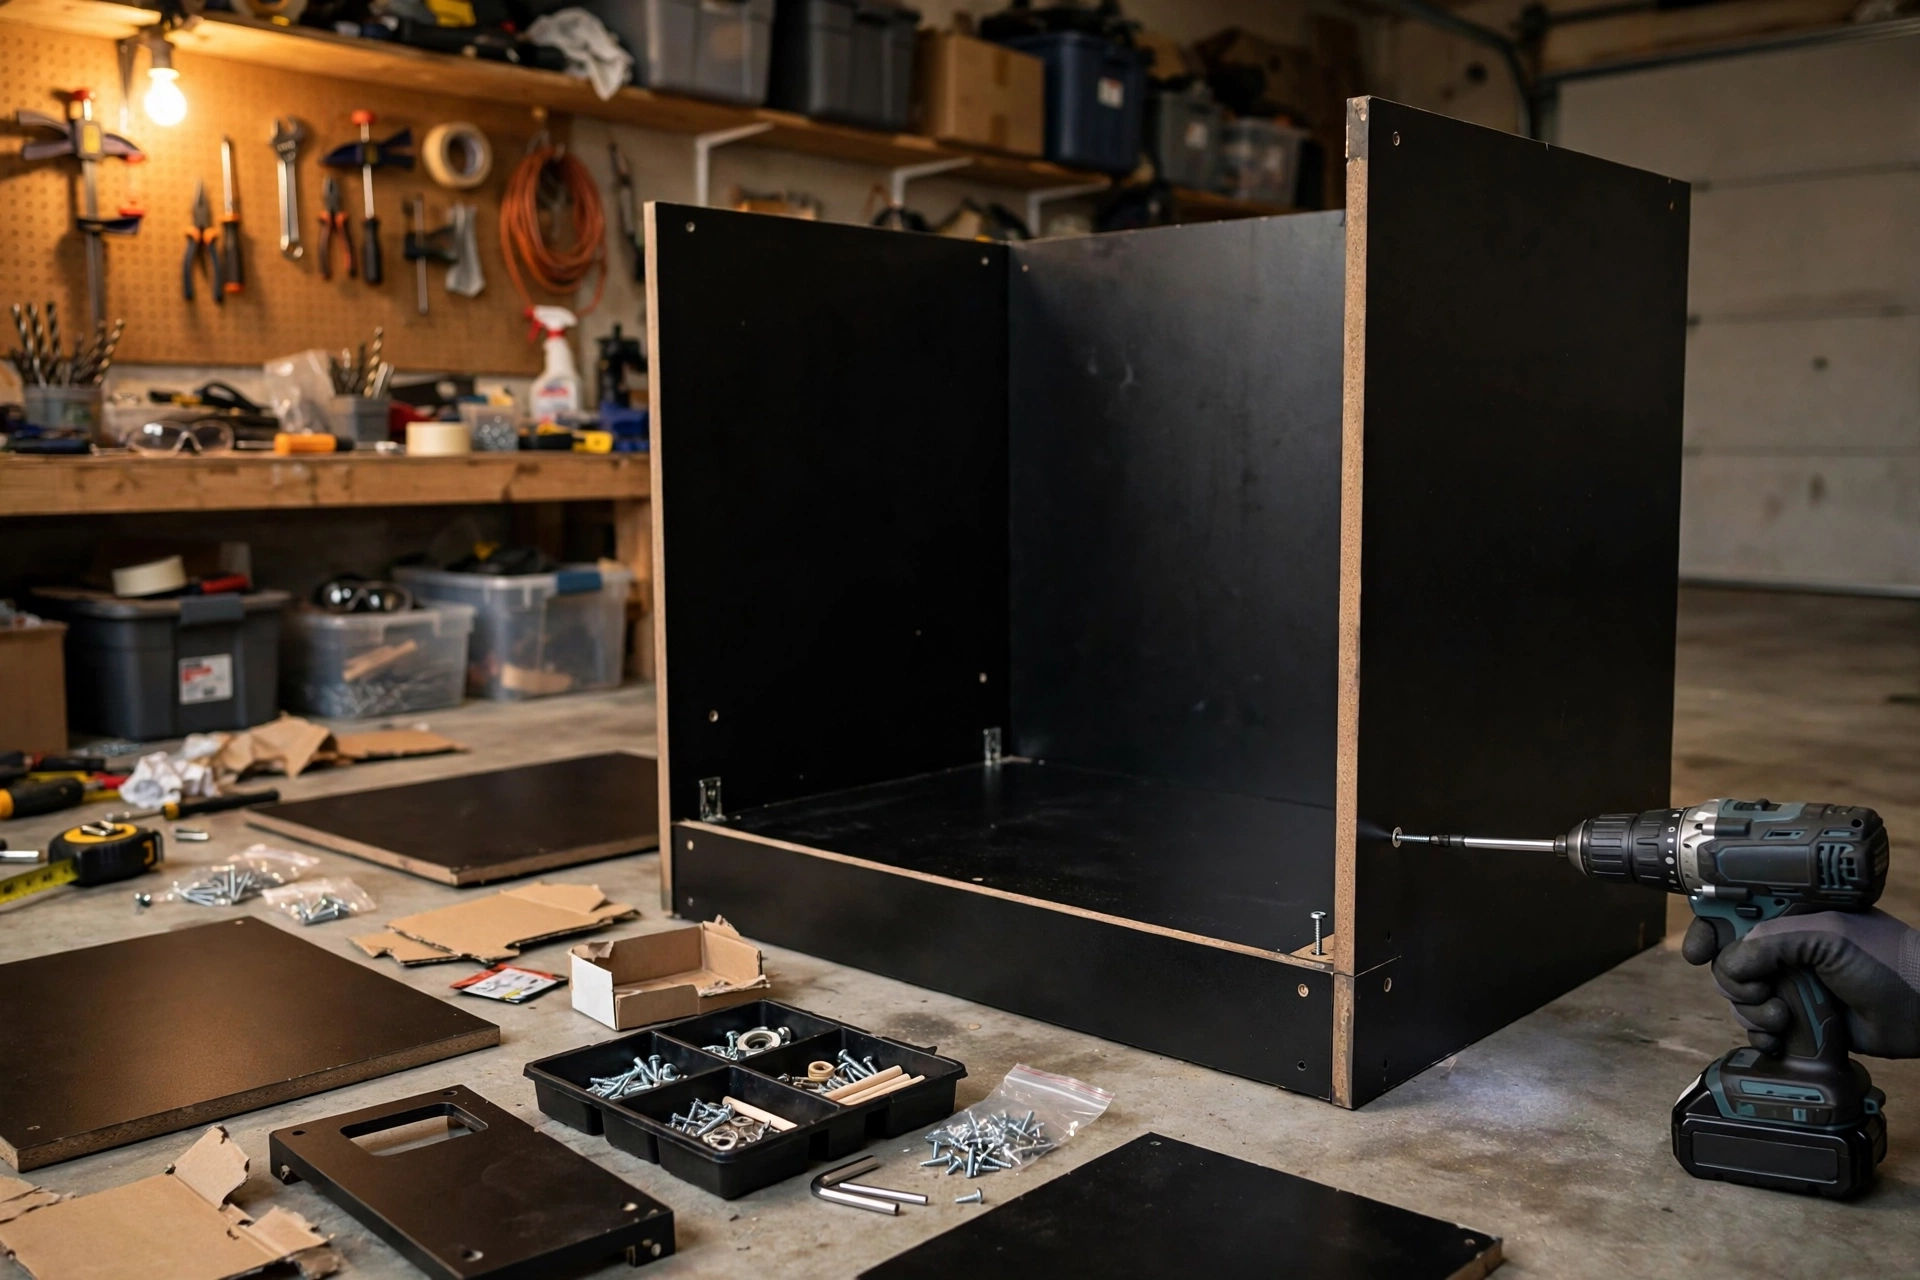
A purpose-built arcade cabinet kit starts from a different premise. Rather than centering the build on a single board and leaving everything else as your problem, the enclosure, control panel, wiring, and hardware are engineered as a matched system. Nothing in the box is waiting for you to figure out compatibility.
That work is already done. The encoder, display, and power supply have been verified together before the kit ships. The trial-and-error matrix that quietly consumed hours in previous sections simply isn’t part of the experience.
You’re still building. Rec Room Masters kits are self-assembly, not plug-and-play appliances. You’ll measure, assemble, w
ire, and finish the cabinet yourself. The satisfaction of saying “I built that” is fully intact. What’s removed is the sourcing scramble and debugging overhead, not the build itself.
US-based sourcing and support matters more than it sounds. When a question comes up mid-build, you’re working with domestic response times, not waiting on a reply from across twelve time zones. Parts ship on normal domestic timelines too, not the multi-week overseas windows that stall Pi builds at the worst moments.
On cost: purpose-built kits look pricier on the product page. But when you honestly stack the full Pi total, including parts, time, and do-overs, against a complete kit from Rec Room Masters, the gap closes fast. For a lot of builders, it disappears entirely.
Who Should Build a Pi Cabinet (and Who Should Think Twice)
So which builder are you, really?
The Pi path is genuinely rewarding for the right person. If cracking open a terminal to fix a display config on a lazy Saturday morning sounds like entertainment rather than a chore, the Pi ecosystem will treat you well. The community is active, the tinkering is real, and arriving at a working cabinet through your own problem-solving carries a satisfaction a smoother path cannot replicate.
Your existing skill set is the actual cost variable. A builder with Linux familiarity, soldering experience, and a stocked workshop will move through the Pi build faster and cheaper than someone acquiring all three mid-project. The same build that takes an experienced maker 20 hours can swallow 60 for a builder learning the environment alongside the project.
If your priority is a great-playing cabinet in the living room within a weekend or two, a purpose-built DIY arcade cabinet kit removes the friction points covered throughout this piece. The journey is still there; it’s just not the obstacle course version.
Budget alone should not decide this. The Pi path only wins financially if you have the skills to avoid costly do-overs and the patience to source components without a deadline. Add one bad encoder board, one wrong-aspect-ratio display, and two weeks of stalled shipping, and the math shifts fast.
The honest question every builder should ask themselves: “Do I want to build an arcade cabinet, or do I want to build a Raspberry Pi project that happens to become one?” Both answers are completely valid. They just lead to very different kits.
The Real Takeaway Before You Buy Anything
Once you’ve answered the “which path” question, the rest is execution. Here’s what to carry into that first purchase, regardless of which route you choose.
A raspberry pi arcade cabinet kit is a real starting point, not a scam, but it is genuinely incomplete. The headline price covers the board and maybe a few accessories. The full build costs two to four times that number once the enclosure, display, controls, audio hardware, and wiring are all accounted for. Build your budget around the complete parts list before you order anything.
Time is money, even when you’re having fun. Forty to eighty hours is a realistic first-build range for an intermediate builder, and that number belongs in any honest cost comparison. If your time has value, factor it in.
Do your compatibility homework before the cart is full. Verify that your encoder, display, power supply, and OS version work together as a matched set. A mismatch discovered mid-build costs more than the research would have.
If the DIY journey is the whole point, lean into it fully and budget for the friction. If a finished, playable cabinet is the goal, a purpose-built kit from a US-based builder like Rec Room Masters is worth running the full numbers on. The sticker price looks higher; the all-in cost often doesn’t.
Either way, the move is the same: open eyes, a real budget, and a parts list that includes every item in the “sold separately” column. That discipline is what separates a working arcade cabinet from a very expensive garage shelf.
Conclusion
Building a Raspberry Pi arcade cabinet can be deeply rewarding, but only when you walk in with accurate expectations. The kit price is a starting point, not a finish line. Your real budget will be two to four times higher once every component is accounted for. Your real time investment will stretch across weeks, not a weekend.
The builder who wins is the one who does the math first: total parts cost, honest labor hours, and compatibility checks before a single item ships.
If the build process excites you, embrace it fully and budget for the bumps. If a finished, playable machine is the priority, price out a complete solution from a reputable builder like Rec Room Masters before assuming DIY is cheaper.
Either way, start with a complete parts list and a realistic budget. That single step is what turns an idea into an actual arcade cabinet.
