

RecRoomMasters
Arcade Cabinet Parts Explained: What Every Canadian Builder Needs to Know
Sep
You spent hours watching YouTube builds, bookmarked a dozen parts lists, and now you’re staring at your first arcade machine cabinet kit wondering which components actually matter and which ones are just filler dressed up in nice packaging. Sound familiar?
Here’s the thing most beginner guides skip over: not all arcade parts are created equal, and buying the wrong ones means rebuilding sooner than you’d like. The difference between a cabinet that genuinely feels like the real thing and one that disappoints you six months in usually comes down to a handful of key components. Get those right, and everything else falls into place.
This guide walks you through every major part category you’ll encounter as a Canadian builder, from the control panel hardware you’ll touch every single play session to the PCB hiding quietly inside doing all the heavy lifting. You’ll also find out what most U.S.-focused buying guides completely miss when it comes to sourcing parts in Canada. By the end, you’ll know exactly what to look for, what questions to ask, and how to build your cabinet once and build it right.
Why Three Components Make or Break Every DIY Arcade Cabinet
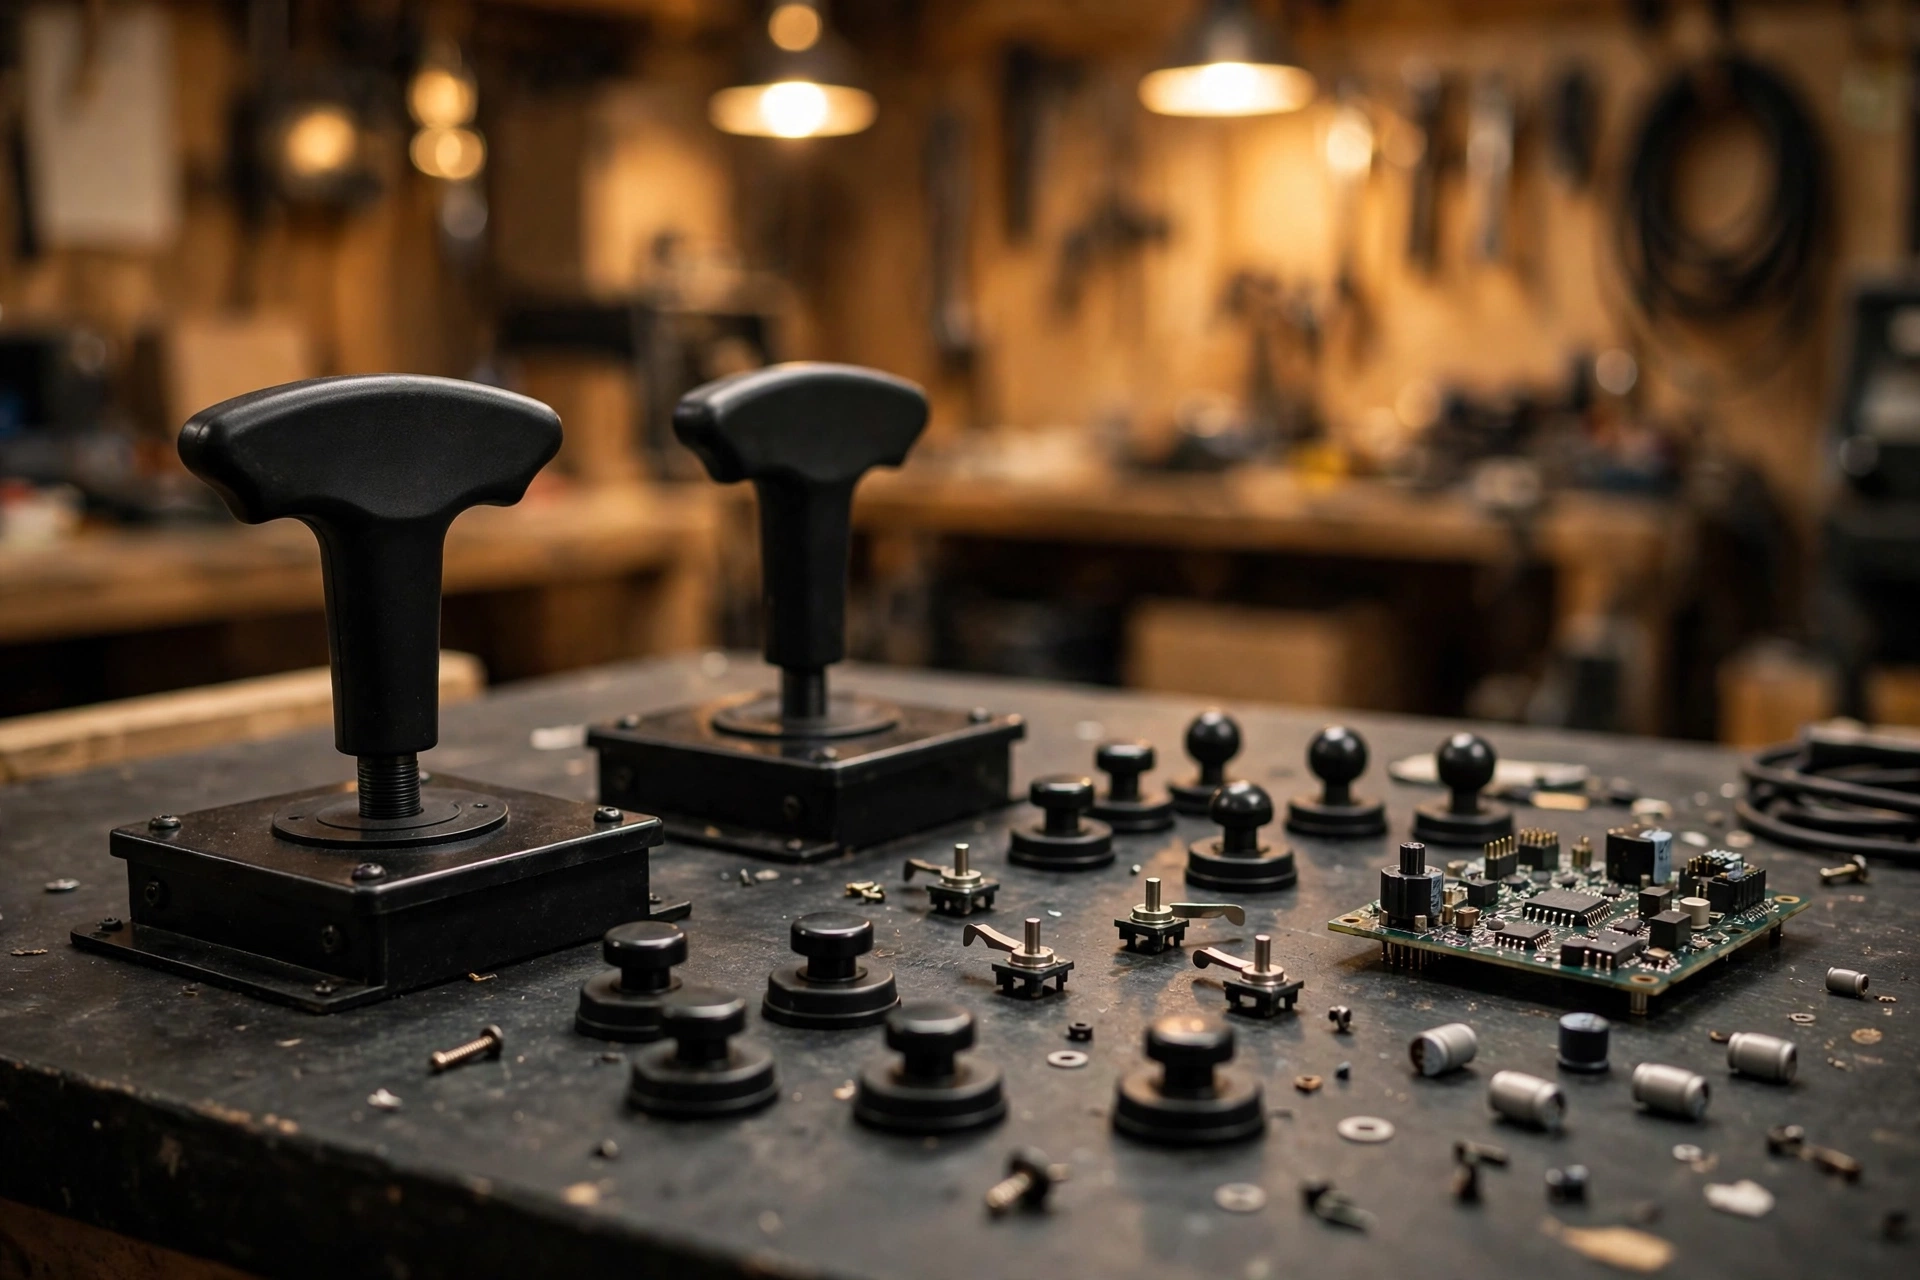
Most DIY arcade cabinet guides spend pages on wood type, paint finish, and T-molding colour. Here’s the thing: none of that determines whether your finished build actually feels like an arcade machine. The control panel hardware, the marquee, and the PCB do.
Those three components are where the experience lives. They’re also where budget builds quietly cut corners, because a first-time buyer scanning a spec sheet won’t notice “generic encoder board” the way they’d notice a scratched panel or wobbly leg. By the time you feel the difference, you’ve already assembled everything.
Canadian builders carry an extra consideration here. Sourcing quality components across the border means factoring in import duties, brokerage fees, and CSA/UL compatibility on anything that draws power. The “buy cheap and upgrade later” plan sounds reasonable until you’re paying cross-border shipping twice. Consolidating your purchase into a single, well-specced kit, like the 2 Player DIY Arcade Cabinet, sidesteps a lot of that friction from the start.
This guide walks through every major component category so you know exactly what to look for before you buy, not after you build.

Control Panel Hardware: The Part You Touch Every Single Time You Play
The control panel is where every session starts, so material and thickness matter more than most beginners expect.
Material and thickness set the foundation. Experienced builders typically use MDF or plywood at three-quarter-inch thickness or more to keep the panel rigid, thin panels can flex enough to affect button feel over time. A quality laminate or printed artwork overlay protects the surface from the oils and friction that come with hours of play.
Layout is a decision, not an afterthought. A 6-button layout is the common choice for fighters like Street Fighter titles; 4-button layouts suit maze and shooter classics where fewer inputs are needed. Match the layout to the games you’ll run most often.
Pre-drilled vs. custom-drilled is a real trade-off. Pre-drilled panels included in an arcade machine cabinet kit speed up assembly but lock you into one configuration. Custom-drilled panels offer flexibility and require precise measuring to avoid a joystick or button hole that’s a few millimetres off.
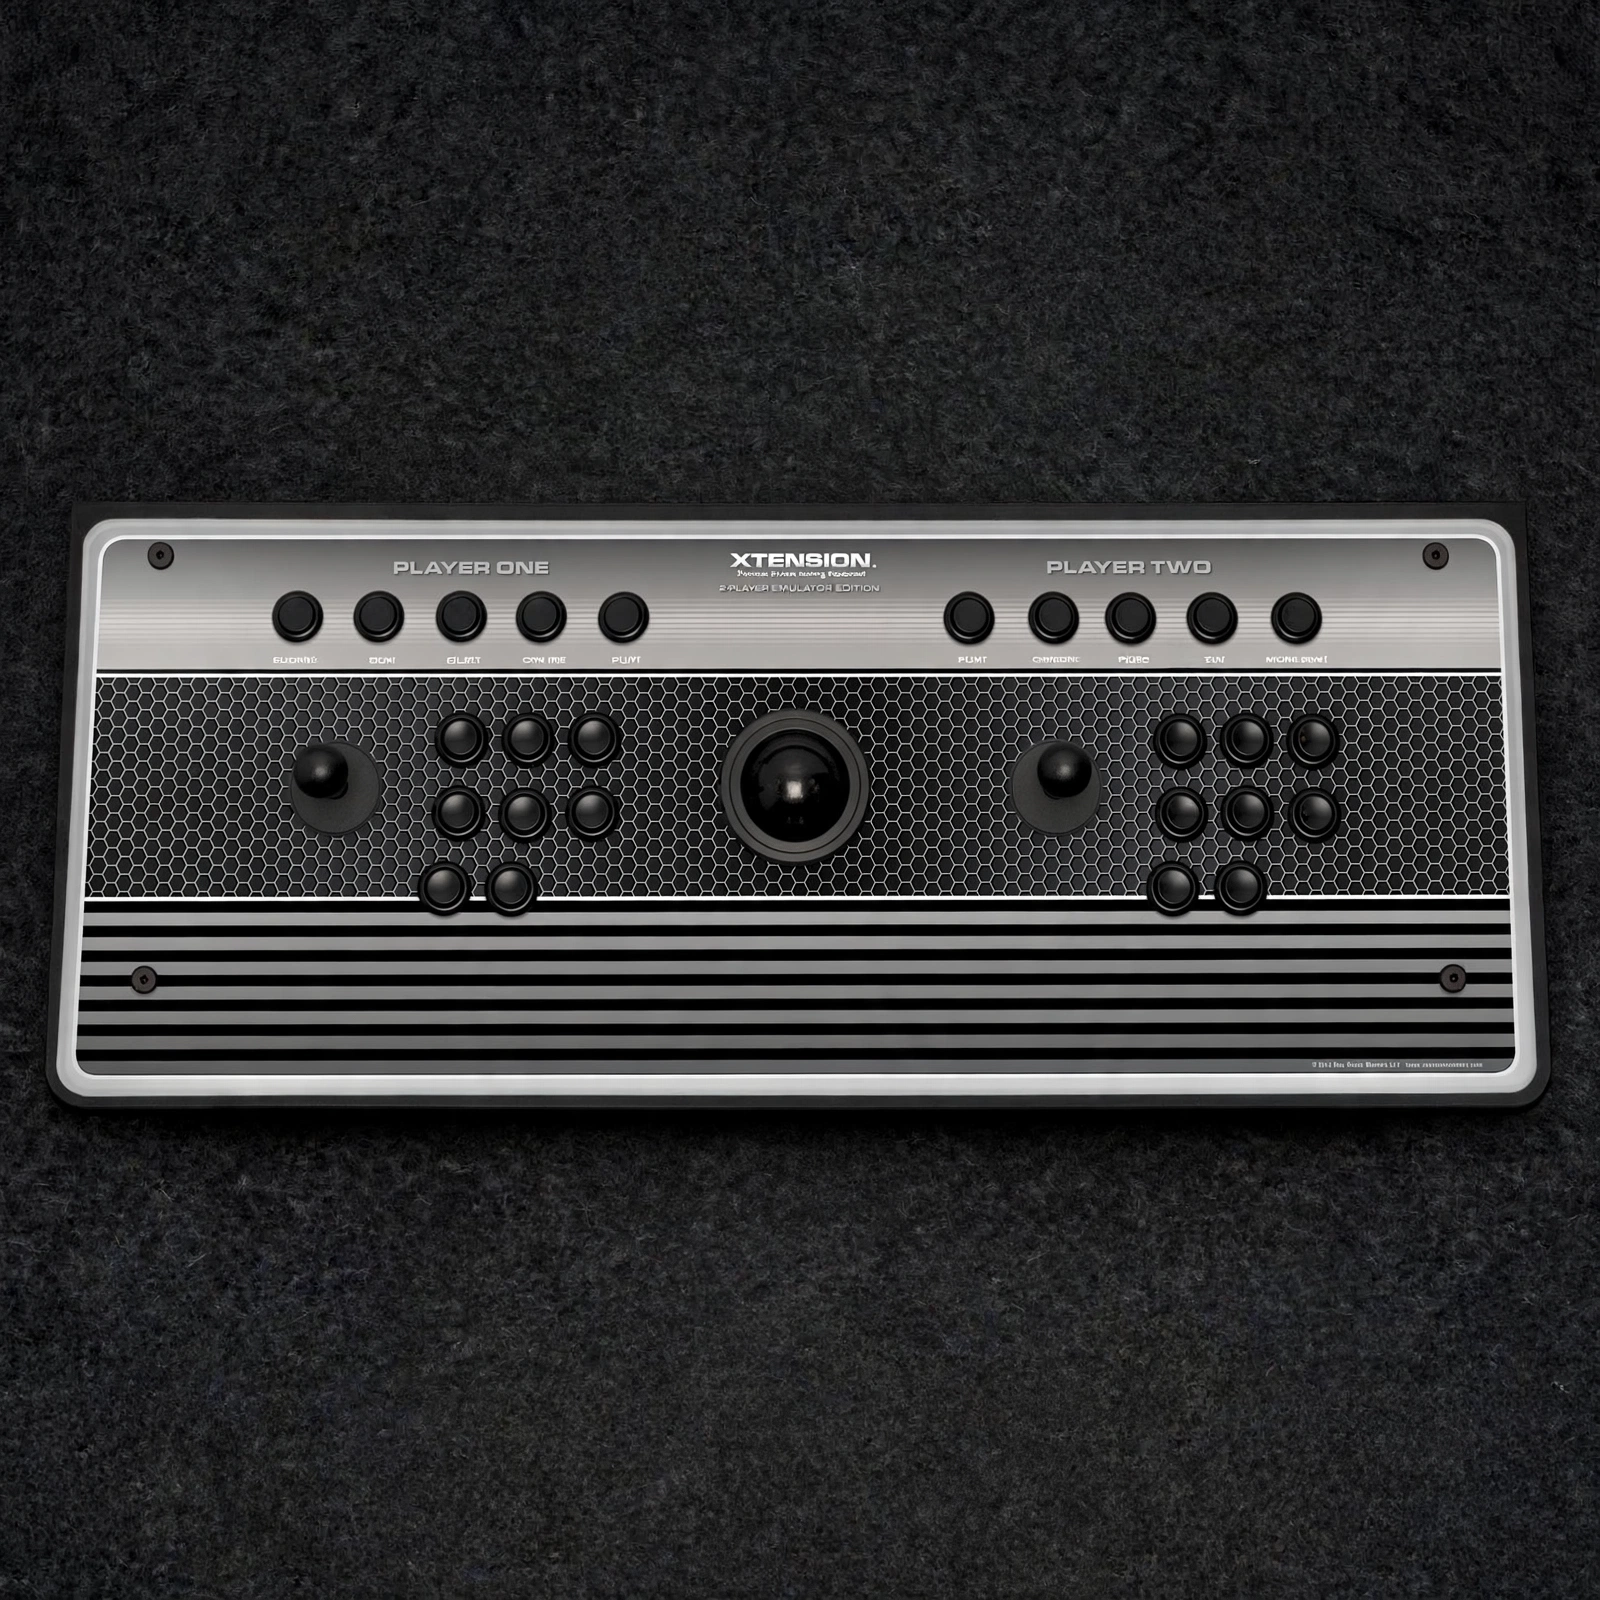
Check for wire routing channels underneath. Recessed channels keep harness cables tidy and prevent pinching during assembly. If you want to see what a well-built standalone panel looks like before committing to a full cabinet, the Xtension 4 Player Arcade Controller ships fully assembled and sets the standard clearly.
Joysticks: What Separates a Responsive Stick From a Sloppy One
The joystick on your control panel does more work than it looks like. Three things determine whether it feels sharp or sluggish: the actuator shape, the spring tension, and the microswitches underneath.
Know your manufacturers. Sanwa and Seimitsu are the Japanese manufacturers most commonly referenced in quality arcade builds. Happ and IL (Industrias Lorenzo) produce American-style sticks favoured by builders recreating classic U.S. arcade setups.
Gates matter more than most beginners expect. The gate is the plastic restrictor that guides stick travel. Square gates are the default on most Japanese sticks and appear frequently in modern DIY builds. Octagonal gates add physical guides for diagonal directions, which helps on maze games like Pac-Man where hitting corners cleanly matters.
Microswitches are where cheap sticks quietly fail. Each directional input triggers a microswitch underneath. Quality microswitches register with a short, crisp click you can feel, budget switches have longer actuation distances and wear out faster. That tactile feedback tells your hands the input landed.
Spring tension is a comfort issue over long sessions. Too stiff causes fatigue; too loose makes precise inputs unreliable. Medium tension suits most game libraries well.
One Canadian-specific note: joysticks from Japanese manufacturers typically route through U.S. distributors, and brokerage fees can add a meaningful bump to the landed price. Compare the full cost rather than the sticker price. If you want joystick quality locked in from the start, Rec Room Masters’ 2-Player “Standard” Controller ships fully assembled with components already specced for you.
Arcade Buttons: Why Microswitches Matter More Than the Cap
The same principle that governs joystick quality applies to buttons: the switch underneath matters more than the cap on top.
Every arcade button has two components: the plunger cap (the colourful part you press) and the microswitch underneath (the part that fires the signal). Budget buttons almost always cut costs on the switch, not the cap. They look identical in a product photo and feel noticeably worse the moment you start playing.
Sanwa and Seimitsu buttons are the names builders look for in quality kits, both brands have been used in commercial arcade machines for decades. If a kit lists either by name, that’s a good sign. If the listing just says “arcade buttons included,” ask which ones.
Actuation force matters. Lighter switches suit fighting games where you’re mashing multiple inputs rapidly. Heavier actuation works better for classic titles where an accidental press costs you a life.
Sizing is standardized for a reason. Standard practice sizes main action buttons at 30mm and secondary or start/select buttons at 24mm, deviating from these norms will be immediately noticeable to experienced players. If you’re curious how secondary buttons work in a different context, the dedicated pinball side button design is a good reference for how actuation and placement interact.
For illuminated buttons, confirm the housing is natively LED-compatible. Retrofitted lighting solutions are harder to wire cleanly and fail more often.
Finally, order 10 to 15% more buttons than your layout needs. Microswitches fail. Having spares means a 30-second swap instead of a two-week shipping wait.
PCB and Encoder Boards: The Brain Hiding Inside Your Arcade Machine
The encoder board is what converts every press and movement into a signal your system can act on.
The encoder board (sometimes called a PCB) is the hardware that converts every joystick movement and button press into a digital signal your PC or emulator can understand. Skip quality here and even Sanwa parts will misfire.
Two boards dominate modern DIY arcade cabinet builds:
- Brook Universal Fighting Board: Premium option with measured input lag averaging under 4ms in testing, native multi-platform support and a plug-and-play setup that avoids common driver issues on modern Windows.
- Zero-Delay USB Encoder: Budget-friendly and widely available, though encoder boards in this category generally offer fewer performance guarantees than premium options. Fine for casual retro play; not ideal for fast-twitch titles.
Input lag is your key spec. It measures the milliseconds between pressing a button and seeing the result on screen. Even small delays become noticeable in fast-action games, so lower is better.
Wiring harness type matters too. Quick-connect harnesses plug in cleanly and simplify troubleshooting; boards requiring individual wire terminals take longer to assemble and are harder to diagnose later.
Multi-platform boards cost more upfront but let you switch between consoles without replacing hardware, which pays off over time. If you’d rather skip the wiring entirely, the Xtension 2 Player Plus Arcade Controller ships fully assembled and ready to plug in.
The Marquee: More Than Just Decoration, It Sets the Whole Vibe
The marquee is the backlit header panel at the top of the cabinet, displaying your game artwork or branding. A cheap marquee on an otherwise quality build is like a cracked frame on a painting.
Lighting: Older cabinets used fluorescent tubes for a warm, nostalgic glow. Most builders today opt for LED strips instead. LEDs run cooler, last significantly longer, and are easier to swap out. There’s no real reason to go fluorescent on a fresh build.
Material: Acrylic panels are the preferred choice for backlit artwork among experienced builders; thinner plastic or paper inserts are widely considered a cost-cutting shortcut.
Light distribution: A well-built marquee pairs the acrylic panel with a diffuser to spread light evenly, uneven or blotchy backlighting is a widely noted sign of a budget assembly. Rec Room Masters offers decorative backlit marquees manufactured in the USA built with this in mind.
Custom artwork: The marquee is one of the most personal parts of any build. Confirm the frame accepts standard print sizes or comes with a template so you can get artwork printed locally without hunting down proprietary dimensions.
For Canadian builders specifically: If you’re sourcing the cabinet frame and marquee separately, verify dimensions before ordering. Even a few millimetres of mismatch causes light bleed at the edges and artwork that won’t sit flush.
The Cabinet Shell: What the Wood and Frame Actually Tell You About Quality
All that marquee work sits inside something, and that something needs to hold together for years without warping, wobbling, or eating your screws.
Material is where cabinet quality starts. MDF is the most common choice: it cuts cleanly, takes laminate beautifully, and keeps costs down. Builders who plan to keep a cabinet in a Canadian basement should note that MDF is moisture-sensitive, humidity swings common in below-grade spaces can cause swelling over time.
Birch plywood is the preferred material in higher-end cabinet kits, valued by builders for its strength and relative resistance to seasonal humidity changes.
How panels are cut matters as much as what they’re made from. CNC-routed flat-pack kits (like those from Rec Room Masters) produce panels with consistent dimensions that fit together predictably. Hand-cut panels introduce small errors that stack up fast, especially around the control panel mounting area where tight tolerances matter.
Two quick quality checks before you buy:
- Run your eye along the T-molding slot. A wavy or uneven slot signals low-precision manufacturing across the whole kit, not just that one edge.
- Confirm the cabinet is specced for your monitor size. Most kits target 19-inch, 24-inch, or 27-inch displays. Retrofitting a different size means modifying the bezel mount. If you’re planning a 4-player build, check that the cabinet’s dimensions and monitor spec support the wider control panel layout before ordering.
Monitor and Display: Matching the Screen to the Era of Games You’re Playing
Aspect ratio is the first call to make. Classic titles from the ’80s and early ’90s were built around 4:3 displays, running them on a widescreen monitor typically results in either a stretched image or black bars on either side. If your library skews retro, a 4:3 monitor preserves the presentation those games were built for.
LCD is the practical standard for any DIY arcade cabinet build in 2026. They run cool, sit slim inside the cabinet, and are readily available in the 19-inch to 27-inch range that suits most builds. CRTs are the authentic choice, but sourcing a quality unit has become increasingly difficult and is especially challenging outside major Canadian metros.
Response time matters more than most beginners expect. For fast-action games, prioritise a gaming-rated monitor with a low response time, standard commercial displays often lag behind monitors designed for PC gaming. Check the spec sheet before buying.
Bezel fit and monitor angle affect physical comfort. A display that sits too upright or proud of the control panel creates neck strain during longer sessions. The screen should angle toward the player naturally when standing.
Confirm your inputs before purchasing. If you’re running an emulation setup, verify the display accepts HDMI or DisplayPort. Some older or repurposed commercial monitors are VGA-only, which creates compatibility headaches with the mini PCs and single-board computers used in modern builds. If you want a feel for how the whole input chain comes together, the Xtension 2 Player Arcade Controller is a good reference point for how quality hardware is wired end to end.
Buying Arcade Parts as a Canadian Builder: What U.S.-Centric Guides Leave Out
Cross-border sourcing introduces costs and complications that most parts guides don’t address.
Here’s what actually changes for you:
- Import duties and brokerage fees are real costs. PCBs, joysticks, and buttons can fall under different tariff classifications, and major couriers routinely add brokerage fees per shipment on top of whatever shipping you paid, these can be substantial, and multiply quickly if you order from multiple vendors.
- For mains-powered components, power supplies, lighting transformers, amplifiers, look for CSA or cUL certification rather than U.S.-only UL listing; this is a common consideration for electrical components used in Canada.
- Currency conversion adds a meaningful premium to U.S.-listed prices, always calculate total landed cost in Canadian dollars using the Bank of Canada currency converter before comparing suppliers.
- Ordering a complete cabinet kit from a single supplier like Rec Room Masters consolidates customs paperwork into one shipment rather than triggering separate brokerage fees across multiple orders.
- Allow extra buffer time beyond any U.S. delivery estimate for specialty items like custom joysticks, encoder boards, or marquee artwork shipping to a Canadian address, customs processing adds unpredictable delays.
Build Once, Build Right: Your Pre-Purchase Checklist
So you’ve absorbed all the component detail. Here’s how to put it to work before you spend a dollar.
- Evaluate control panel hardware, PCB/encoder board, and marquee first, these drive the experience every session. Everything else is secondary.
- Demand brand names on joysticks and buttons. If a listing doesn’t name the manufacturer, ask before buying. Any reputable supplier knows exactly what’s going in the build. Vague answers like “quality components” are a red flag worth taking seriously.
- Calculate your full landed cost in CAD. Sticker price means nothing until you’ve added duties, brokerage fees, and currency conversion. Use the Bank of Canada currency converter to build a real number before comparing suppliers.
- One supplier beats five. A complete kit from a single source cuts compatibility guesswork, reduces customs paperwork, and shrinks your risk considerably compared to piecing components together from multiple vendors.
- Rec Room Masters’ self-assembly cabinet kits ship as complete, quality-specced builds, so every component is confirmed before you pick up a screwdriver. A practical starting point for Canadian builders who want to build once and be done with it.
Conclusion
Building an arcade cabinet is a serious investment of time, money, and enthusiasm. Get the fundamentals right and you end up with a machine you’ll play for decades. Get them wrong and you’re chasing problems from the first session onward.
Building right the first time means choosing quality components, insisting on named brands, and knowing your true landed cost before you commit. Canadian builders who consolidate their purchase with a single supplier eliminate most of the border friction before it starts.
You have everything you need to buy smart. Now go build something worth playing.
